Vermont Gravel Adventure: 6 Dirty Gaps
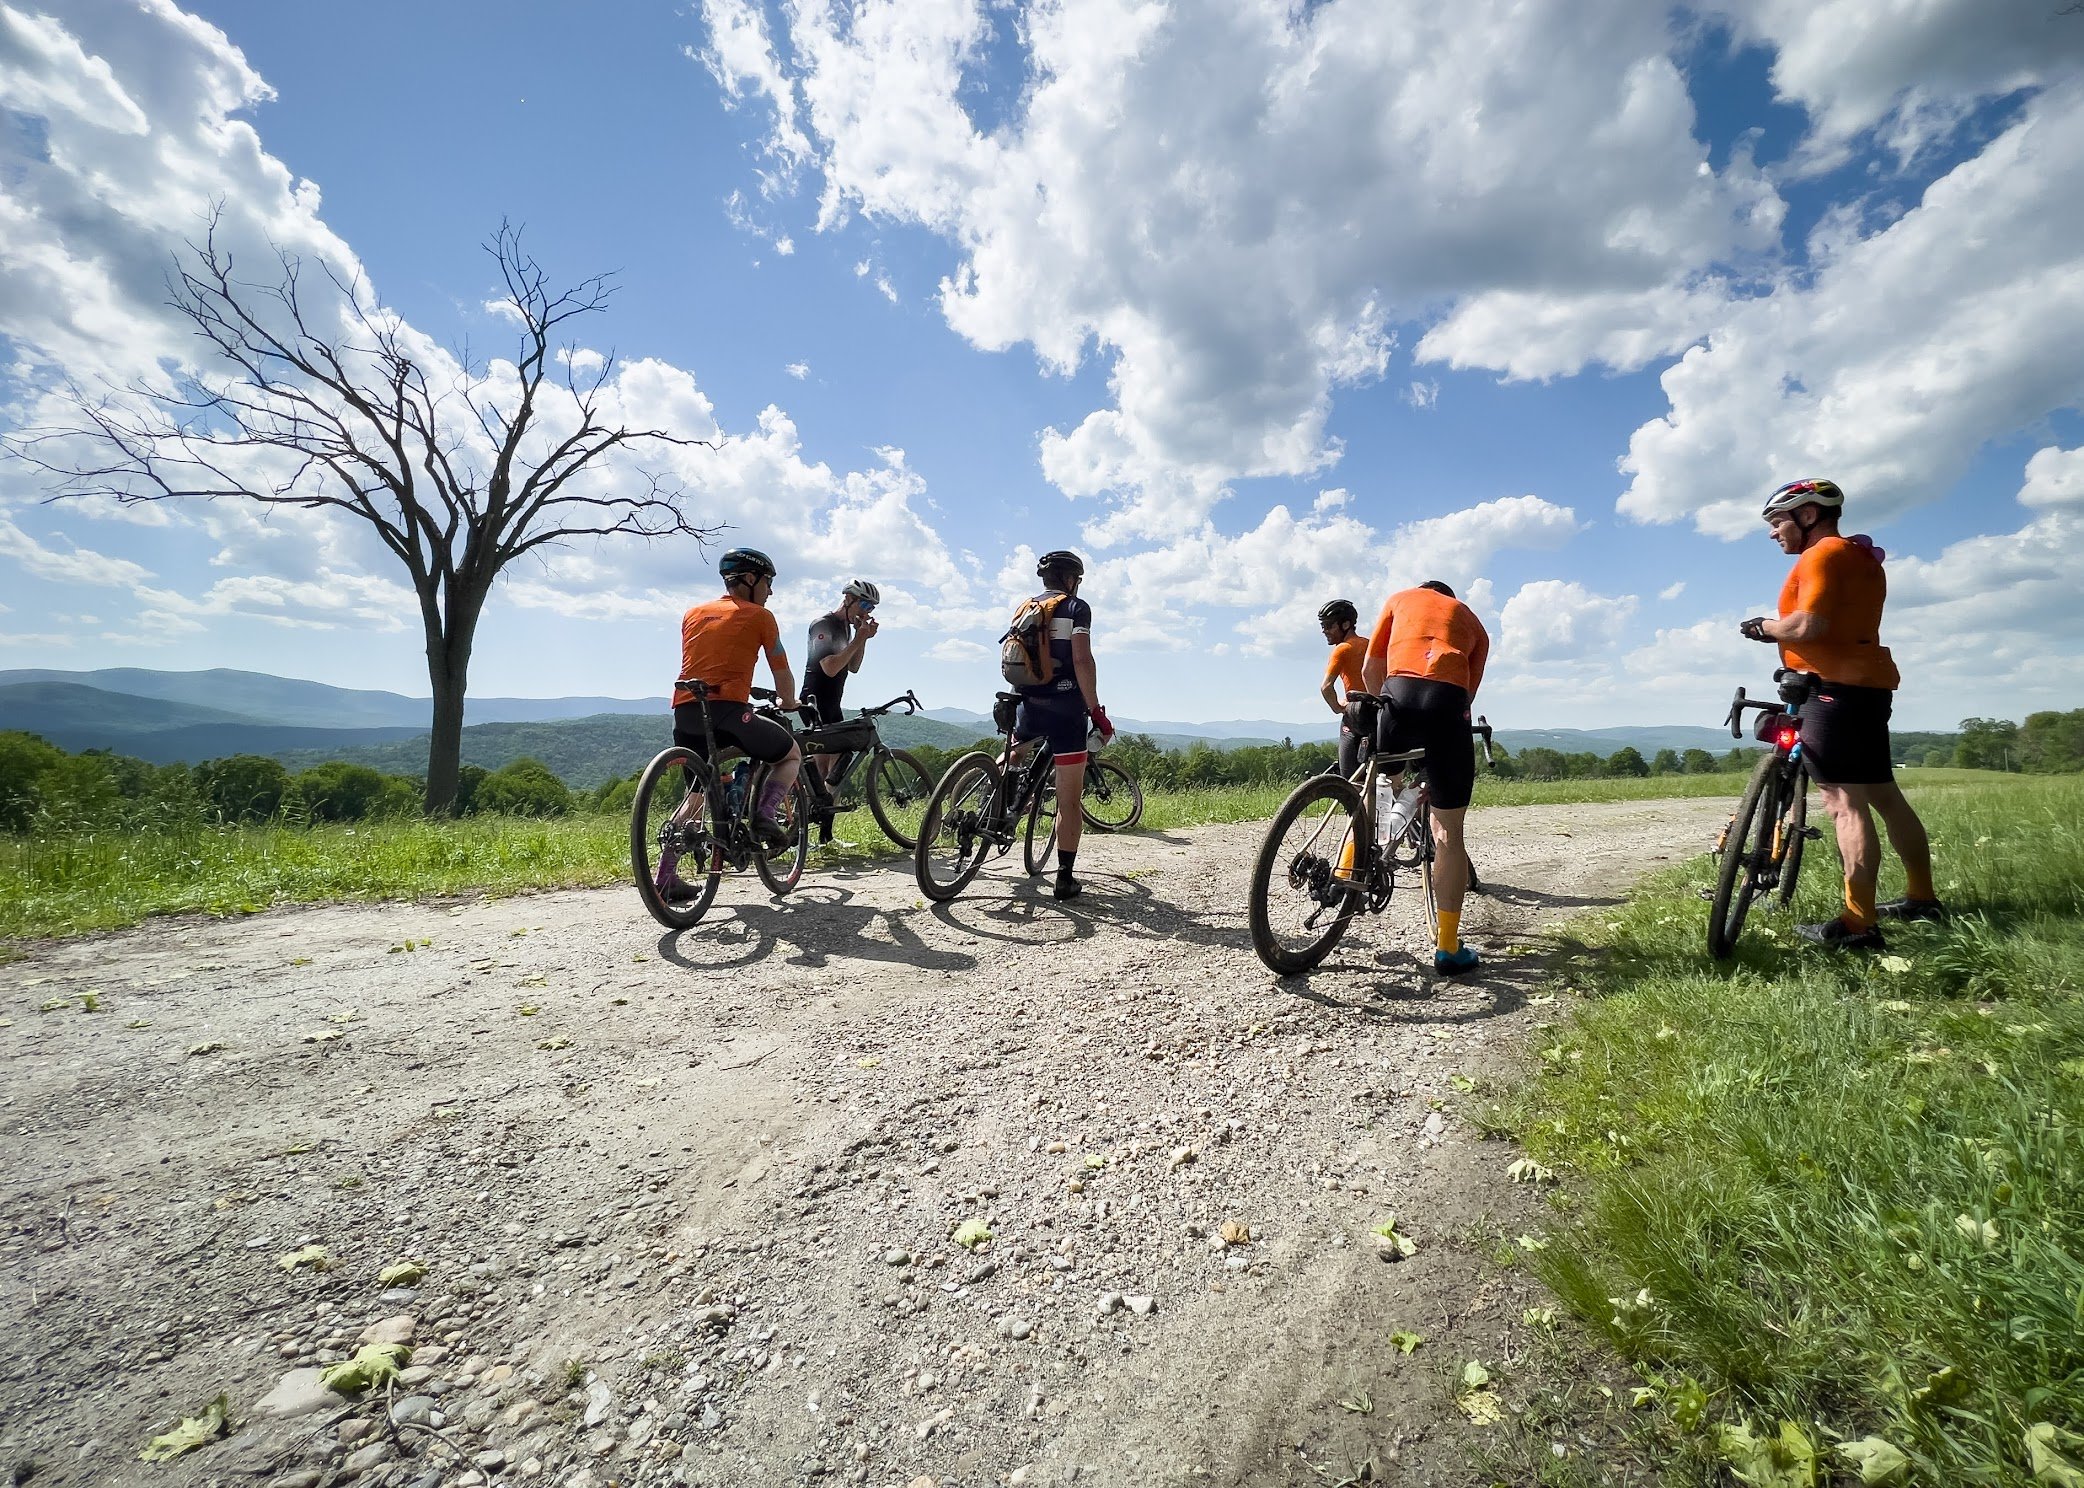
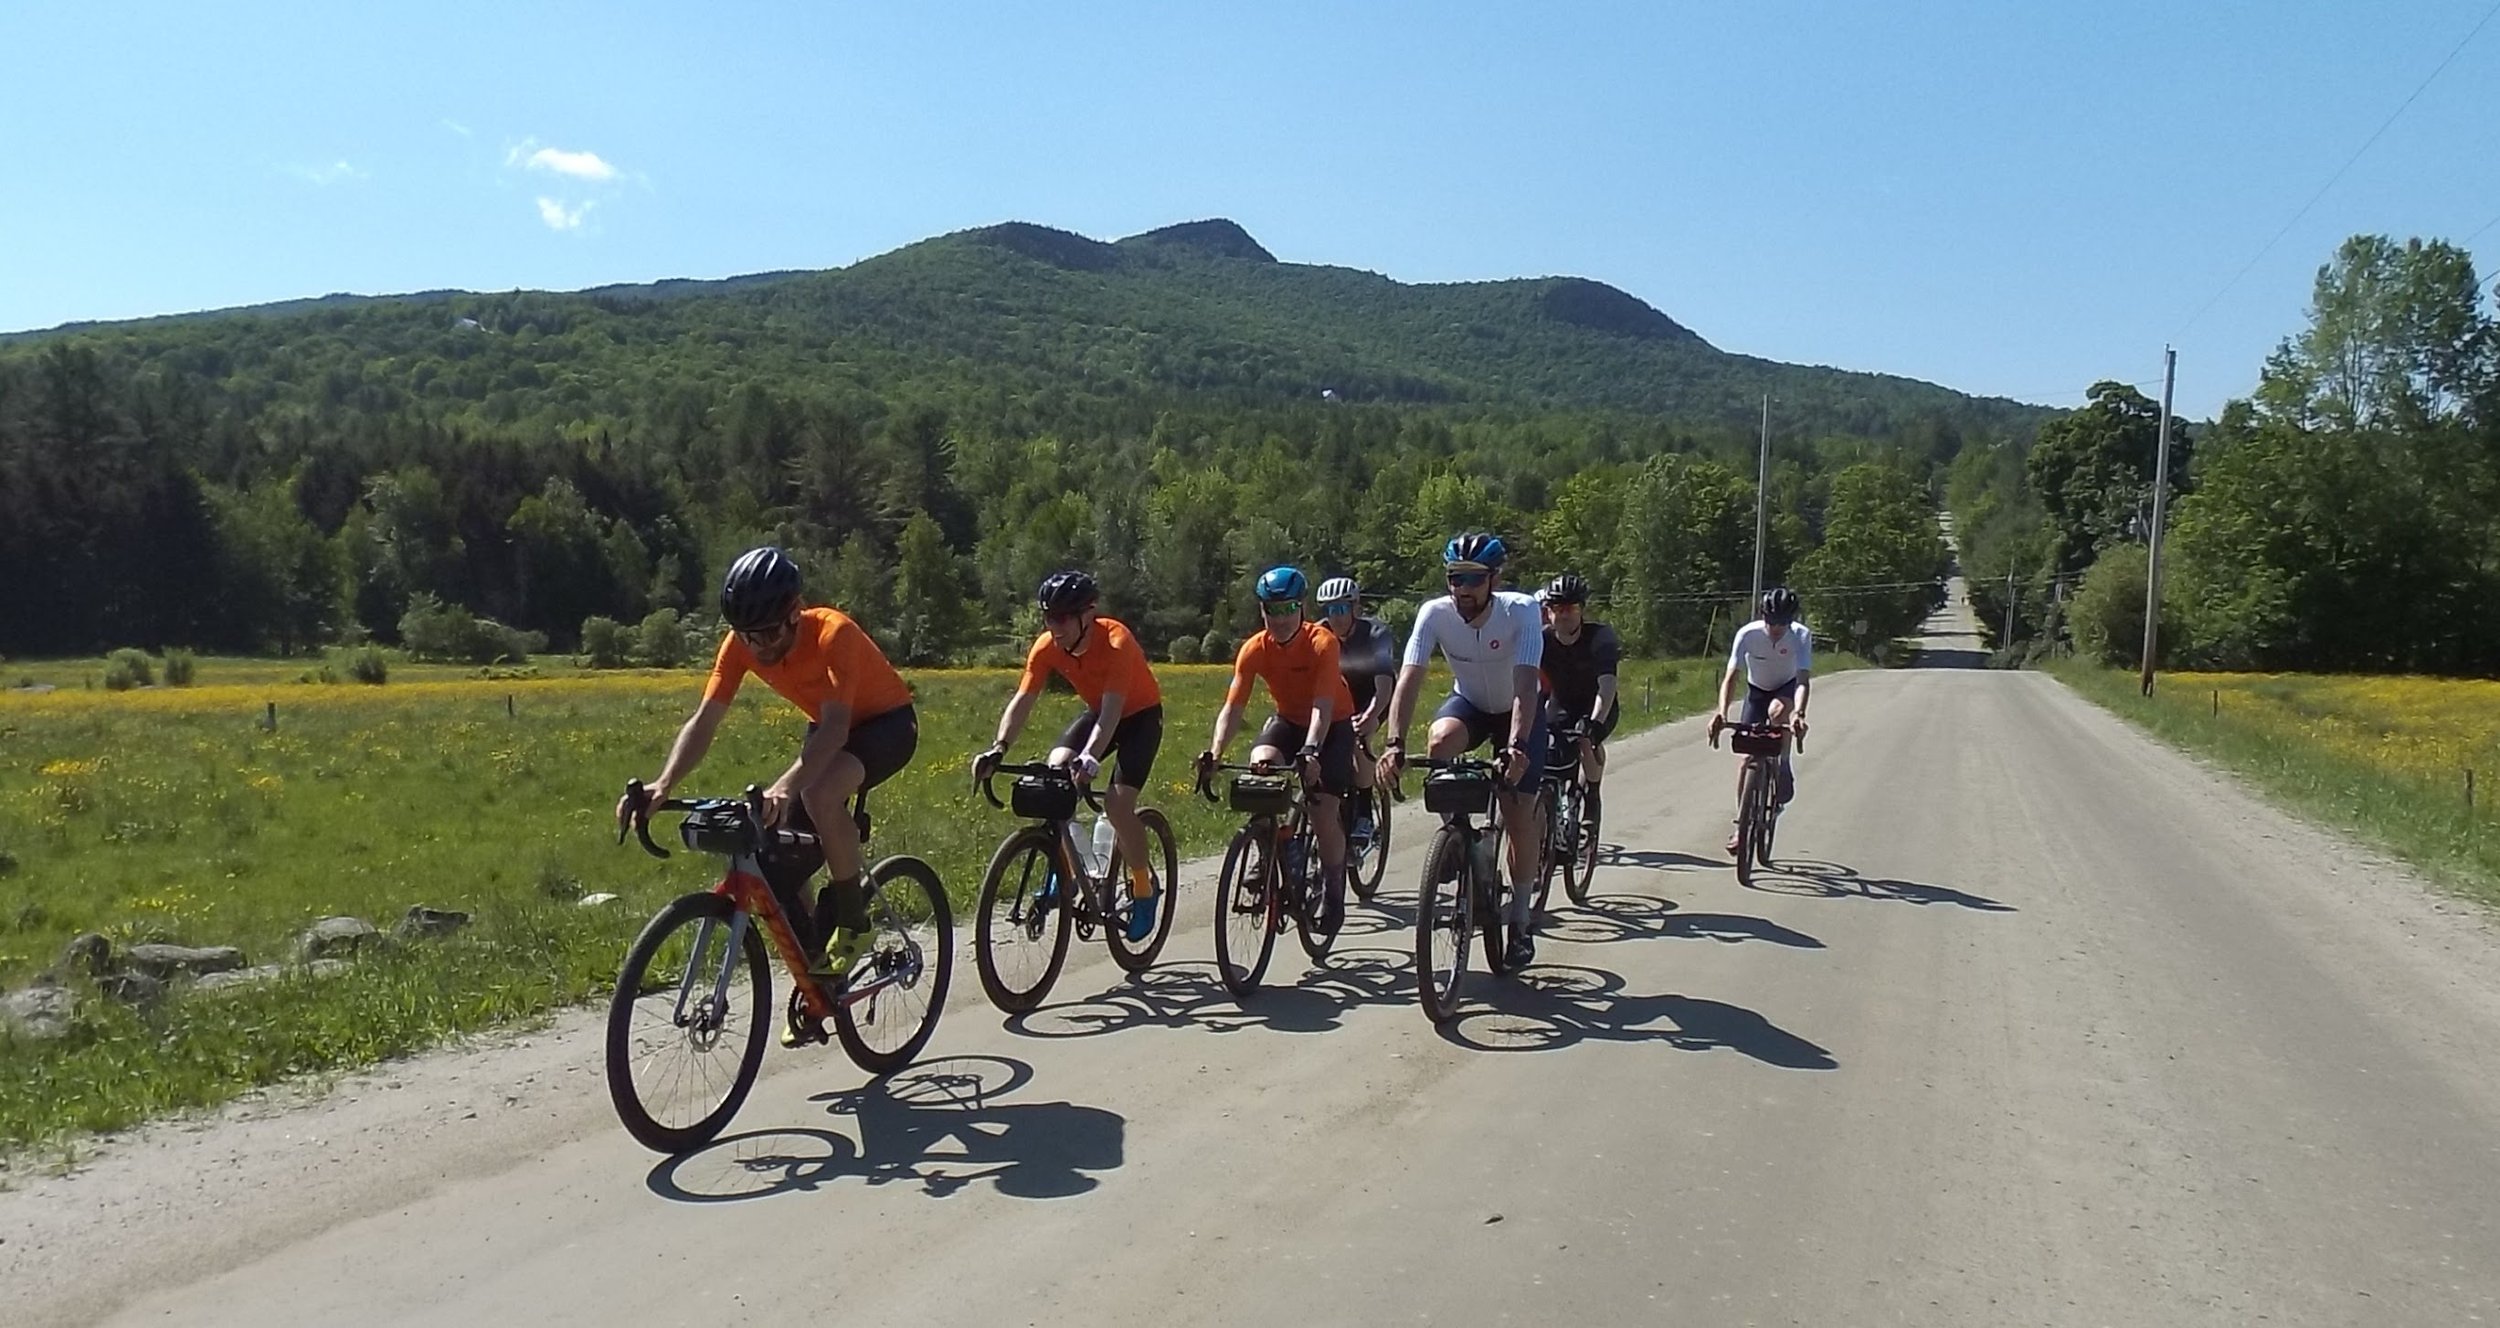
My fondest cycling memories are not of standing on podiums, but of days spent striving and struggling with friends. When I think back to amazing days on the bike, there was always something that either went wrong, or was particularly difficult to get through. Whatever the case, we got through together, and that’s what made the experience special. For example, a group of us rode 6 Gaps in 2017. It was a big day, and Lincoln Gap was really tough, but it was crashing off the road on the descent’s crazy right-hand turn near the top that set us up for a truly memorable day. Easily the most ludicrous paved turn I’ve encountered anywhere in the world, the pavement transitions from flat to off-camber. Suffice it to say it’s notorious, and there really ought to be a HUGE sign at the top that reads something like “5 MPH !!!”. Todd Fairhead tried to stay on his side of the road as it fell away, slid his front wheel, went OTB, and rolled out of it like a champ. His saddle took a lot of force as his bike flipped, and wedged itself down low. Ultimately, we had to collaborate to pull it out, which was certainly a nervous moment for Todd, my feet on his frame and all. It was also the highlight of the day. Overall, the classic 6 Gaps route didn’t really feel enticing to replicate, but its level of challenge catalyzed our group, and made for a really fun social dynamic over the weekend. I thought about the day many times over subsequent years, with an eye to orchestrating another trip to Vermont that could see us build on the experience, ride a more interesting route, and perhaps expand the group.
Moving into late spring 2022, it felt like planning a trip down would work, and I had a concept in mind I thought the guys would rally around: 6 Gaps, on dirt. I had no clue whether this concept aligned with reality. Did any of the gaps we’d previously ridden even have dirt road passes? Were 6 other gaps dirt, but generally not spoken of for that very reason? I had no clue, but I knew who to ask: Paul Lohnes.
I met Paul ages ago at D2R2, and we’ve ridden together at events a few times and corresponded via email since. Paul lives in Massachusetts, and LOVES riding in Vermont. He’s spent countless hours creating dirt routes in the state, with an eye to exploration and learning all the best roads, views, and places to resupply. Being an ‘outsider,’ Paul brings fresh eyes to the state’s riding, and probably has a more exhaustive base of riding experience there than the vast majority of locals.
When I asked Paul, “Is this concept even possible?” he jumped at the opportunity; it was! Over the weeks that followed, Paul developed a number of route options for us, starting around the town of Waitsfield. The plan was to drive down on the Friday early enough to do a 3-4 hours ride and get our bearings, do the BIG one on Saturday. On Sunday we could perhaps do a moderate 4 hours. Paul was certainly up to the challenge, and planned to beg or borrow an E-bike so he could join us and ride at a comfortable pace. A former professional hockey player, Paul’s build falls far outside ‘climber’ brackets, so an E-bike would relieve any stress around pace.
Paul came up with two variants for what we’d call ‘6 Dirty Gaps,’ which had already become more reflective of the ride’s inspiration than its elevation profile. If we undertook the ‘full-send’ variant, we’d ride Braintree Gap at the end of the day, which is clearly an actual gap. The rest of the climbs would be smaller than gaps, but no joke, really. For example, 15-20 minute climbs would be the norm. For a lot of rides, this sort of duration would be ‘the big one.’ This ride would have at least 10 climbs at 15 minutes or longer.
Having ridden in Vermont numerous times, in events and otherwise, the majority of us knew exactly what to expect in terms of elevation profile and road surfaces. For those who didn’t the bike setup requirement elements that were vital to get right were tires and gearing. This is the case with pretty much every trip. North of the Canada - US border, the Appalachians are more or less ‘washed out’ but the St. Lawrence river. As you can see below, we reside in a vast river valley, which severs what remains of significant scale north or Quebec City (where Mont St-Anne lies) from the Green Mountains and their distinctive ‘spine,’ which starts to kick up south-west of Sherbrooke, runs through the length of Vermont, and ultimately morphs into the Blue Mountains through the Carolinas. As you can see below, the terrain north of the Ottawa River, and to the east, is moderately hilly, and increasingly so north of Saint-Alexis-de-Montcalm. This is where Mont Tremblant lies. When we ride close to and south of the river, the terrain is ‘flat.’ North is hilly, what I characterize as ‘rolling’, where climbs are various shades of ‘punchy’, and momentum is a hot commodity. Our terrain renders fast descending a valuable skill, as momentum can often be carried across flats and into quick transitions to climbs. Very few climbs are truly ‘extended,’ and descents are rarely long and/or steep and/or straight enough to generate speeds above 70kph. It’s possible to ride with tension in the legs for long periods of time, which is rather unlike riding in mountains. In my experience, our riding translates to mountainous regions well, in physical terms. The challenge lies in the psychological side of climbing for long durations, and the equipment required to do so, along with that required to descent safely a high speeds, often.
This is the context that underpins recommendations many of us have shared over the years when people are about to head to Vermont for the first time. It’s different, really different. The pavement and dirt road surfaces are similar to ours, but that’s about the extent of it. Turns out the difference is something some folks will need to feel in order to understand, but for those of you reading who are open to trusting what I write, I’ll provide some tips I guarantee you won’t regret following.
Bike Setup Recommendations
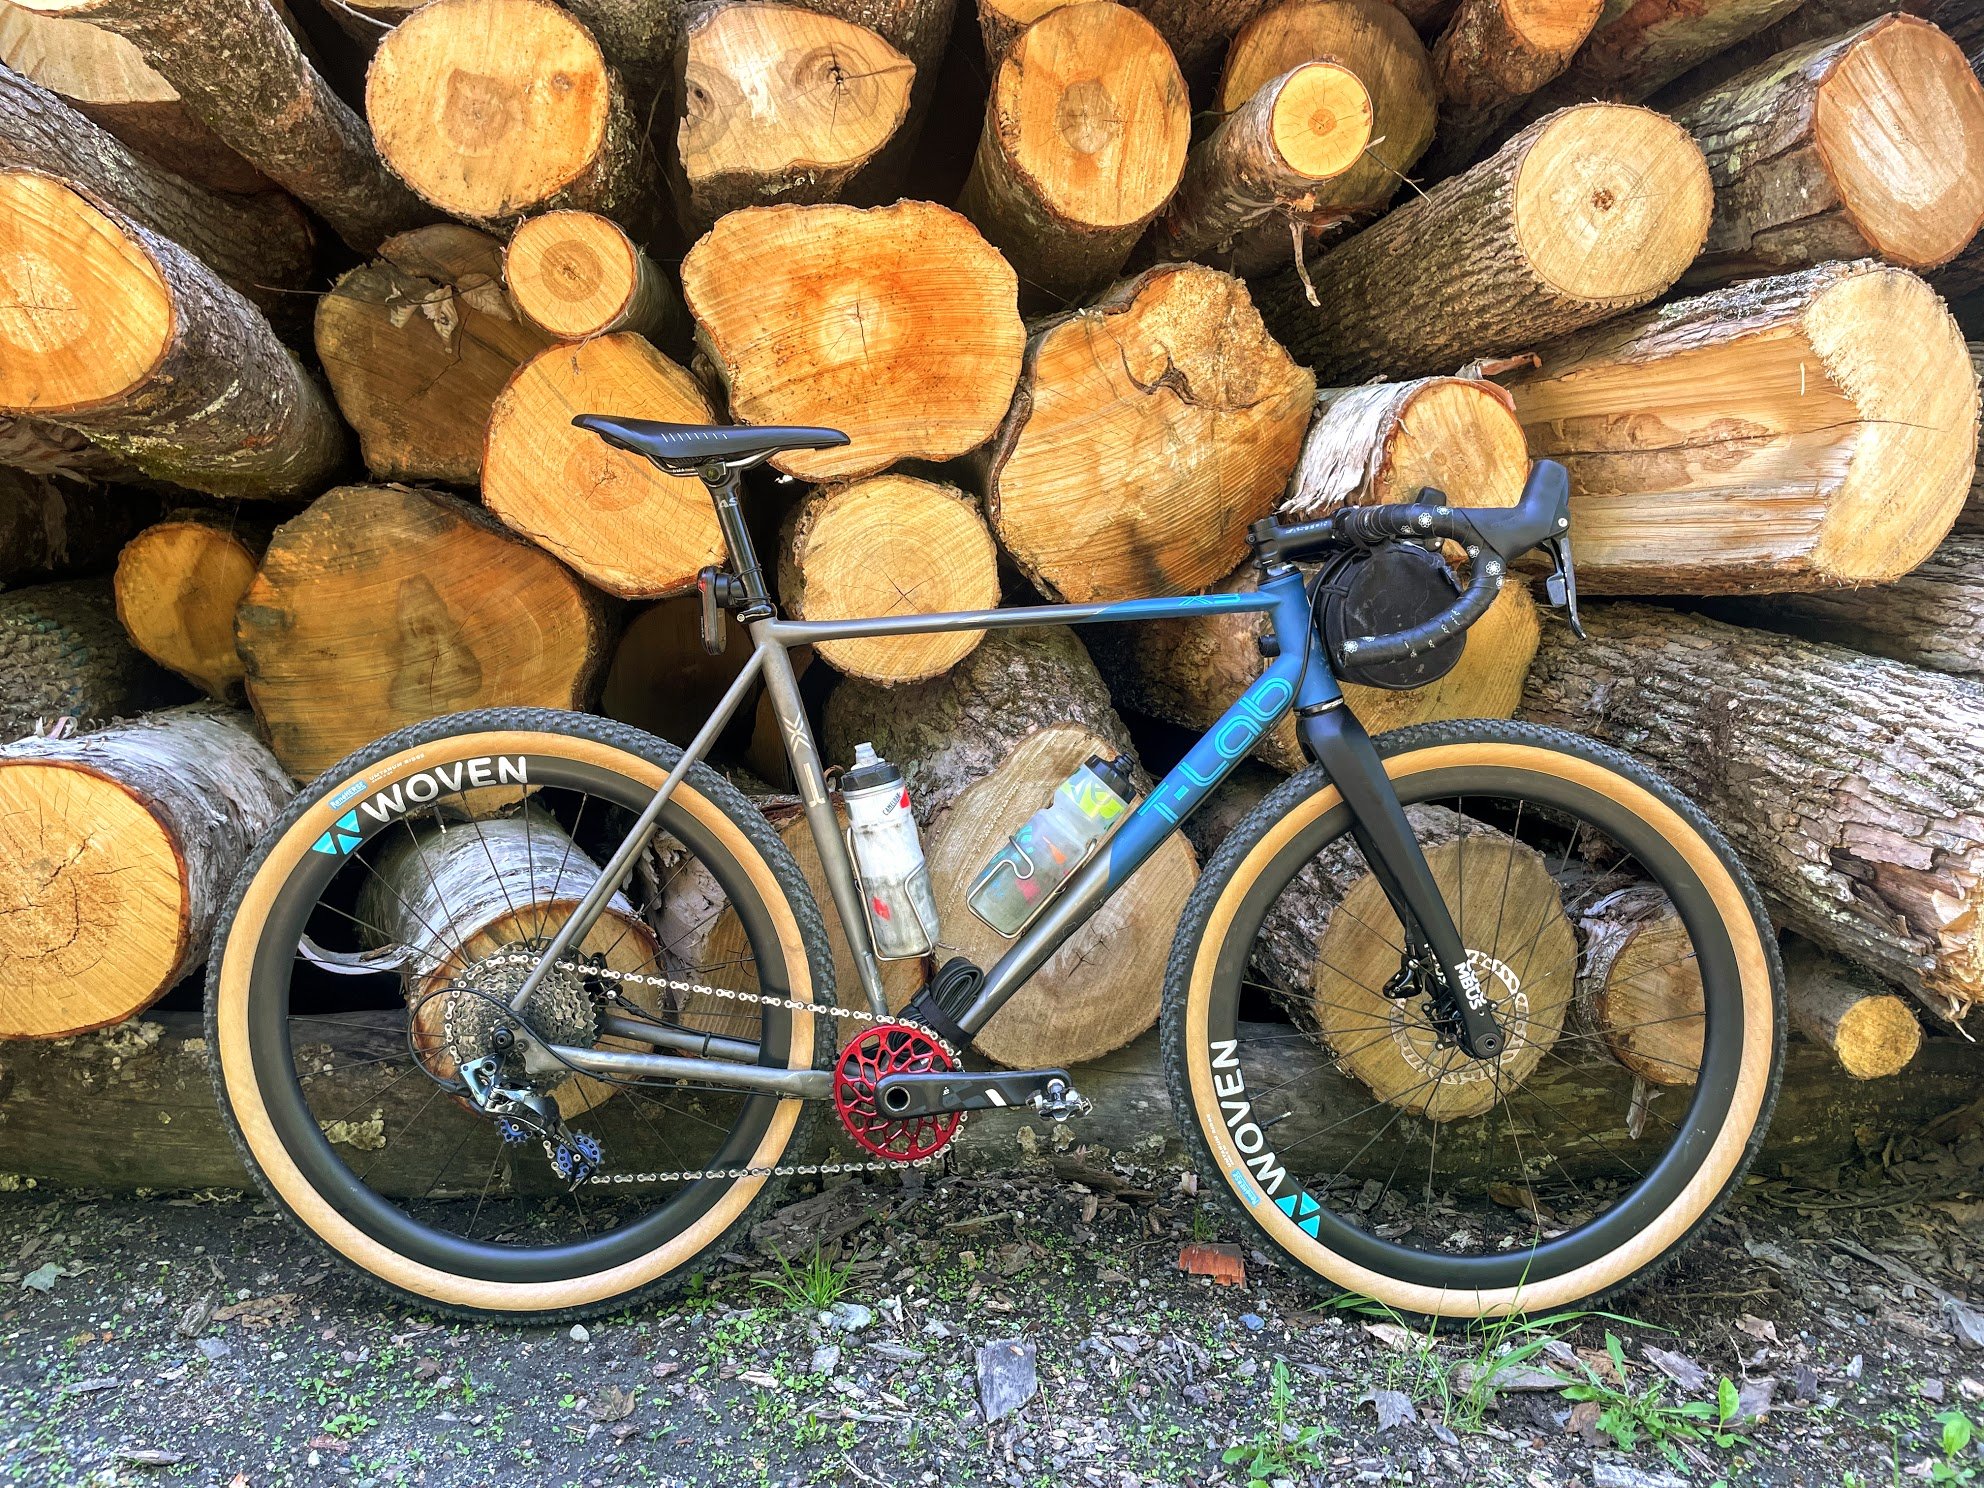
Gearing should be at least as low as 1:1, which means the same number of chainring teeth as rear cog teeth. For example, 34/34. Mountain bikes roll on much lower than 1:1 gearing, and pretty much nobody says their MTB gearing is too low. For places like Vermont, Massachusetts (home of D2R2), it’s hard to even put gears on a drop bar bike that are ‘too low’. When you’re going to spend hours climbing, you need to spin, regardless of how strong you are.
Descending and flat-rolling speed drives gearing choice in a region like Ottawa-Gatineau, but it’s borderline irrelevant in Vermont and similar areas when you’re riding mountains. You’ll be able to reach speeds above 70kph without pedaling, and there will often be very little flat road for any length of time. So a bike with a bias toward very low gearing works well.
Example of low-enough gearing: 38t chainring, 11-42 cassette. This was my setup, and it was low enough for me. The 38x11 was only too-low when Iain Radford was driving the pace on the long shallow descent from Braintree Gap on the big day, which was just to f@#$ with me.
The more Class 4 road you take on, the lower your gearing should be; this is MTB territory.
Tires should increase in size as you add in sections of Class 4 roads. A baseline size suitable for dirt roads like Vermont’s is 35mm. During times of year the roads are packed, this size will work well as long as you stay off Class 4, or ride these roads sparingly. A little tread doesn’t hurt, but isn’t necessary for riders who are familiar with handling on dirt.
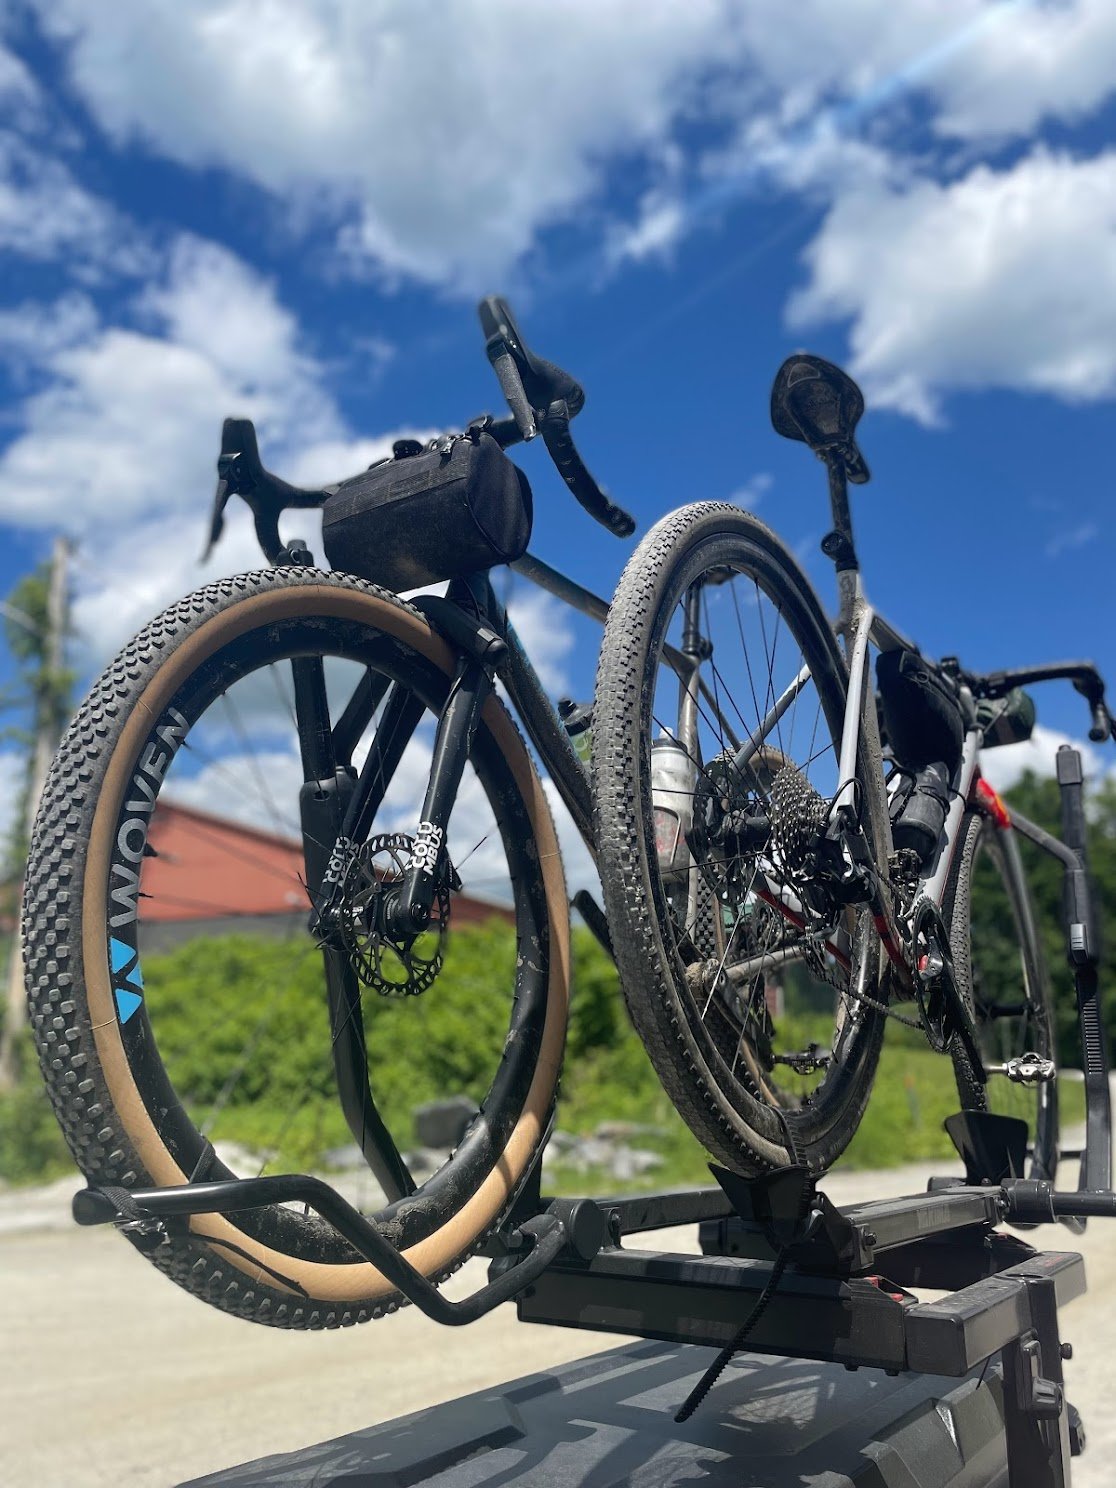
As you ‘polarize’ your riding more - our big day was a perfect example - biasing toward very high volume will bring you more benefit. Our group’s preferred way to do this was to reduce our wheel diameter to 650b, and bring our tires up to 48+ mm. This approach bumps volume way up (increasing climbing traction and performance on rough descents) while keeping the wheel’s overall diameter and rotating weight/inertia constrained. This allows us to keep our handling fairly ‘normal’, and climbing the bike doesn’t feel tank-like.
A couple of us ran Rene Herse’s 650b x 55mm Umtanum Ridge knobby tires, which wound up feeling perfect. Climbing never felt annoyingly draggy, the Class 4 sections felt ‘safe’, and high speed descents were impressively stable. There was zero downside to running this setup, and I’d 100% go with it again. My bike actually never felt more stable at high speed on dirt, and I feel these tires, in combination with my bike’s ‘progressive’ geometry, set a new high-bar for mixed terrain handling. If you want to read about this, voila. BTW, my tires measure 52mm wide.
Small tires with little grip will be manageable for riders with a lot of skill, but are not advantageous overall. Iain Radford was on 650b x 42mm Rene Herse tires, without knobs. On the 30-minute ascent up Braintree Gap, Iain was hunting for grip, moving fore and aft on his saddle all the way up. This bled a lot of energy, and set him up for a painful time on the saddle the next day. Even small tread on his tires would have helped. Think about how you want to ride Class 4 sections, and remember that a bit of tread can get you out of sticky situations while going downhill.
Brakes don’t get worked hard in the Ottawa-Gatineau region, while in Vermont they really, really do. If I only rode in my region I could easily run 140mm rotors and get good enough power and longevity out of them and my pads while riding dirt roads and trails. In contrast, if I was riding in Vermont regularly, I’d want 180mm rotors! 160mm is the common size for most gravel bikes now, but 180 would be much better.
The larger rotor manages heat significantly better than anything smaller, which reduced rotor and pad wear. For extended braking, this is the best way to maintain brake performance, and 180s are also valuable when riding other regions with extended descending, such as the Alps, Carolinas, Pyrenees, etc.
Larger rotors aren’t really about ‘more power’, per se, but a different optimization of operating temperature, biased toward longer braking periods. If we want max ‘bite’ when riding on-off the brakes, as with cyclocross, we might prefer 140s or 160s; the smaller the rotor, the quicker pads heat up and ‘bite’. For braking for extended periods, hard pad compounds that don’t bite hard get up to operating temperature and hold there without breaking down quickly, while the rotor maintains operating temperature via heat loss across its surface area. This reduces pad and rotor wear, and helps maintain consistent braking feel and power.
I will endeavor to make sure my future gravel bikes fit 180s, and see what I can do to help mainstream this option. As gravel bike tire volumes increase, and geometries support steeper riding (along with dropper posts), demands on braking performance are changing.
Before heading out to ride terrain like Vermont’s, give you brakes a bit of attention. Don’t push your luck with thin pads, especially if you’ll ride in wet, gritty conditions. If you’re on rim brakes, carbon rims require careful heat-management, and alloy tend to provide better heat management.
Body position for riding in Vermont on mixed terrain should be looked at from a pacing perspective. If you will ride solo or with friends, mixing road types, aero positioning should not be a priority. While a lot of the ‘gravel’ and all-road terrain we have north of the border is fast and works well for paceline riding, Vermont’s rolling and mountainous terrain isn’t like that unless you’re steering away from the big climbs. The more dirt you do, the less time you’ll spend on flats and/or rolling in a line.
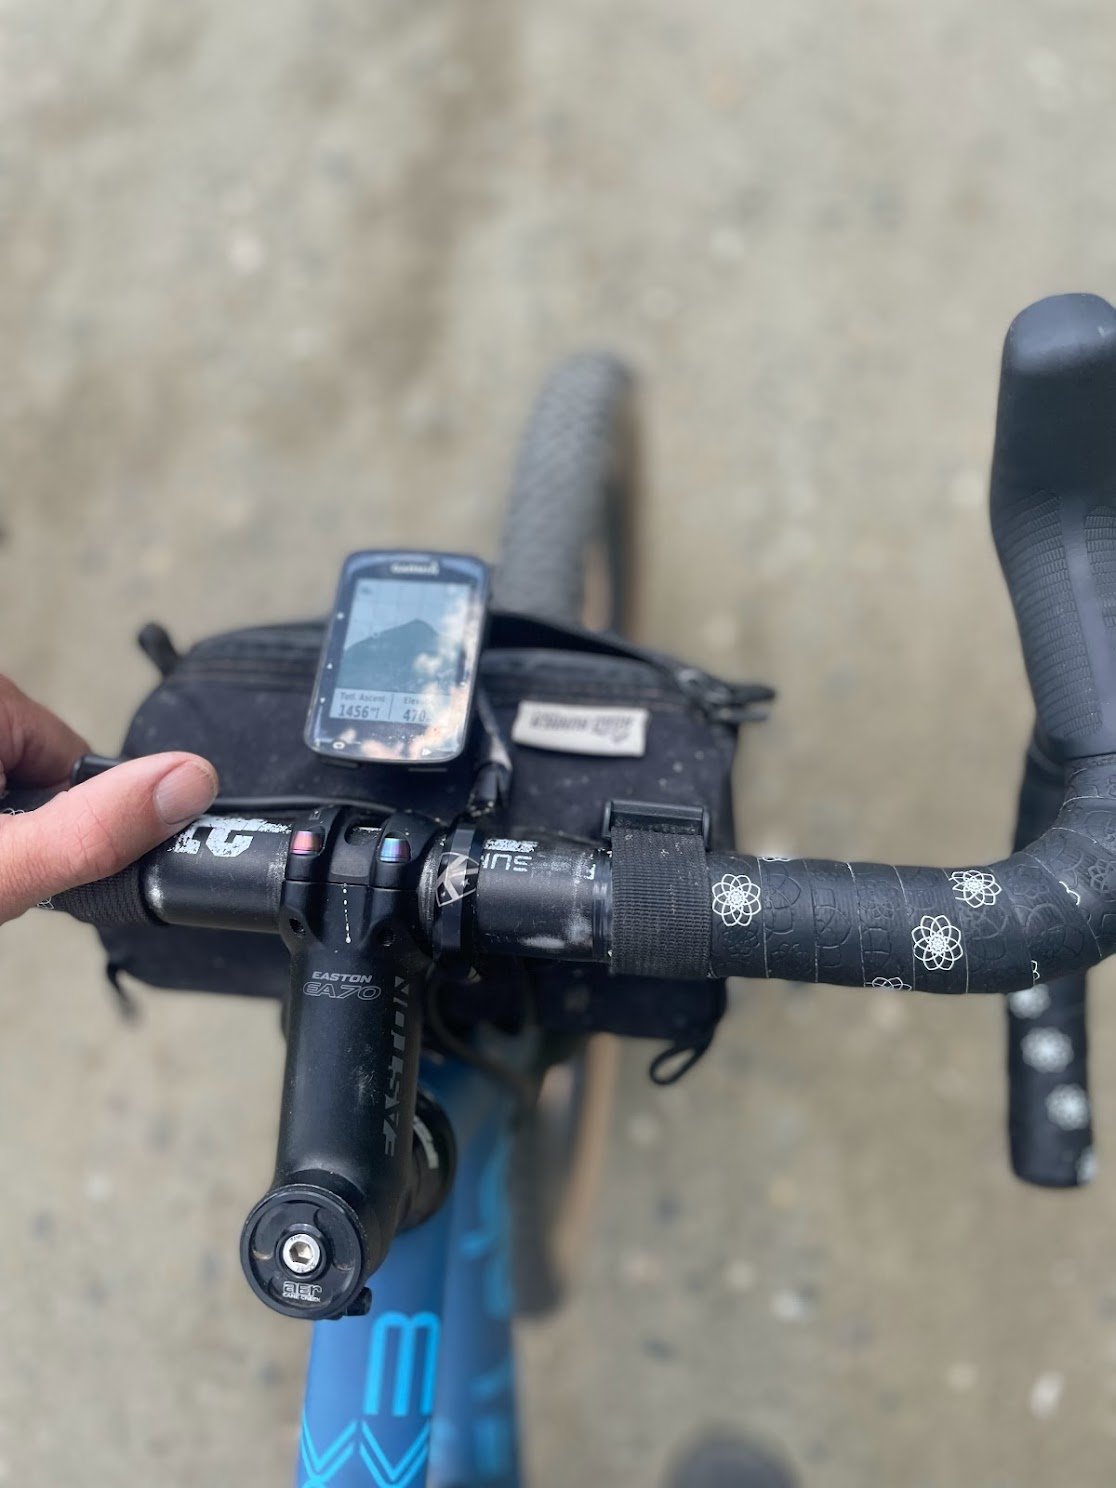
If your typical ‘fast gravel’ or all-road position has you running a 120mm stem, you’d likely benefit from dropping to a 100mm for a trip to Vermont. A shorter reach will be more useful for extended climbing and descending, especially when the grade pitches down steeply. As with MTBs, there’s no benefit to having a stretched out position when you’re going up and down all day. A shorter reach renders the weight balance in the drops better than usual, which is great when using the drops for descending poise and stability, versus aero performance on a flat.
If I were to ride in Vermont a lot more, I’d definitely want a dropper post. In my region I’d used one here and there, and Steve Proulx loves his all the time. For Vermont, it would be ideal, as a dropper gives you so much more range of motion to handle your bike both at speed, and down steep terrain.
If you’d like to dig into body positioning dynamics for gravel, voila.
THE RIDE
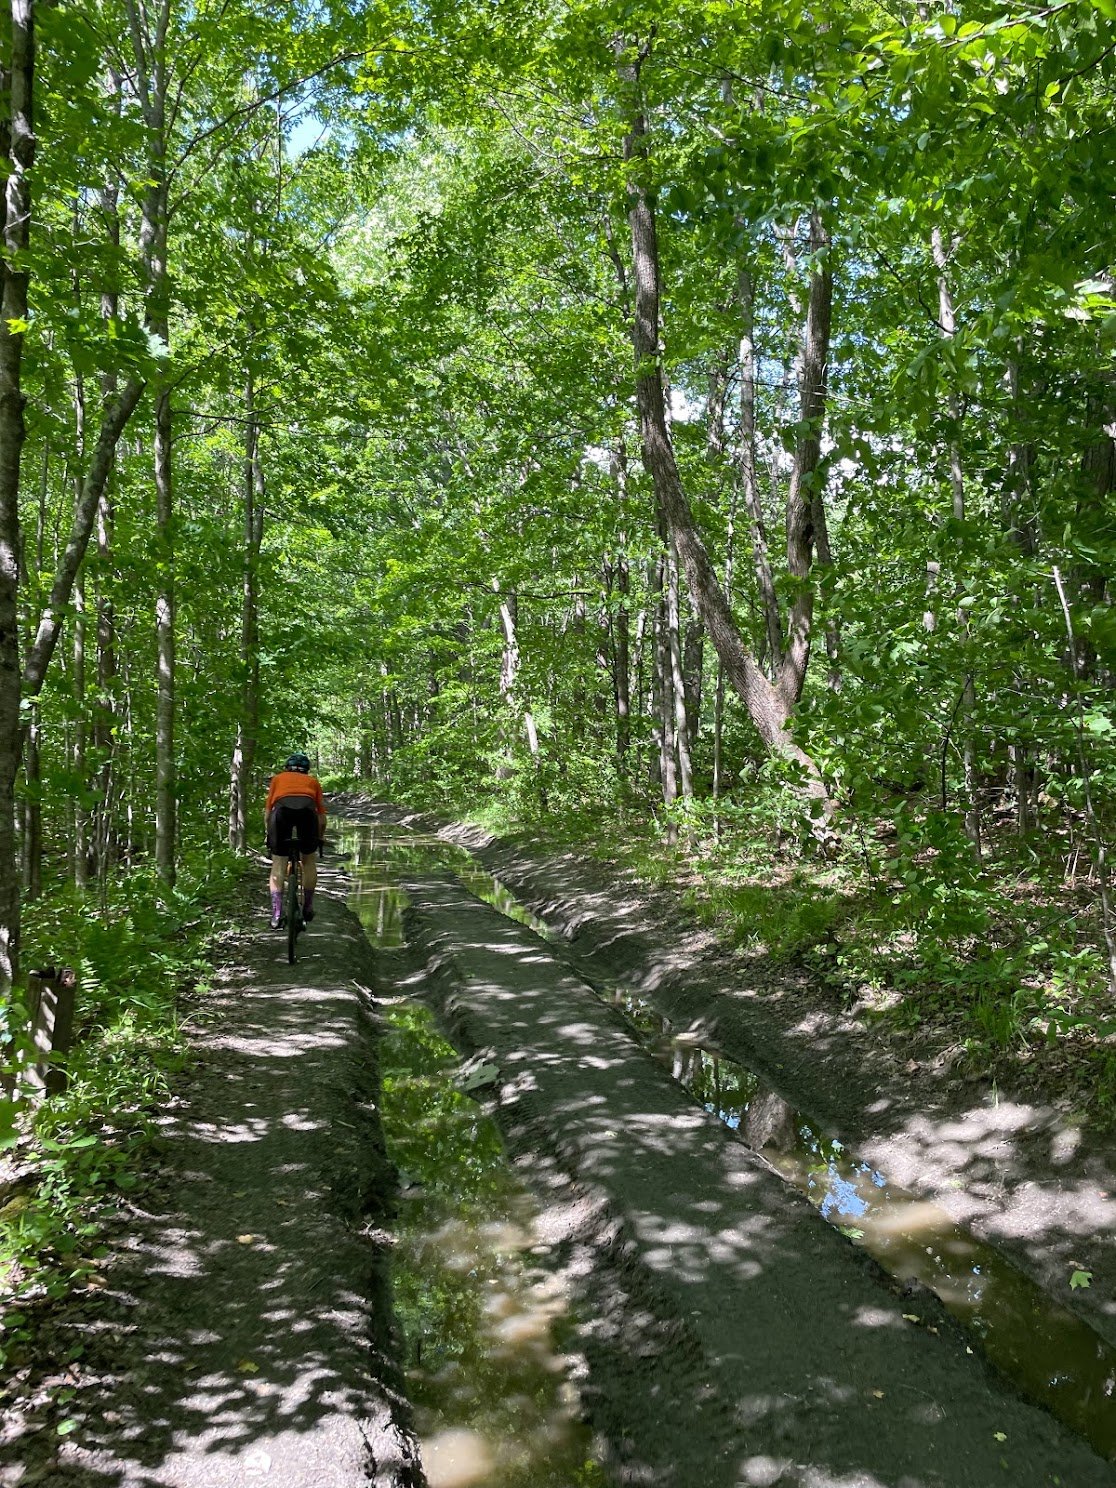
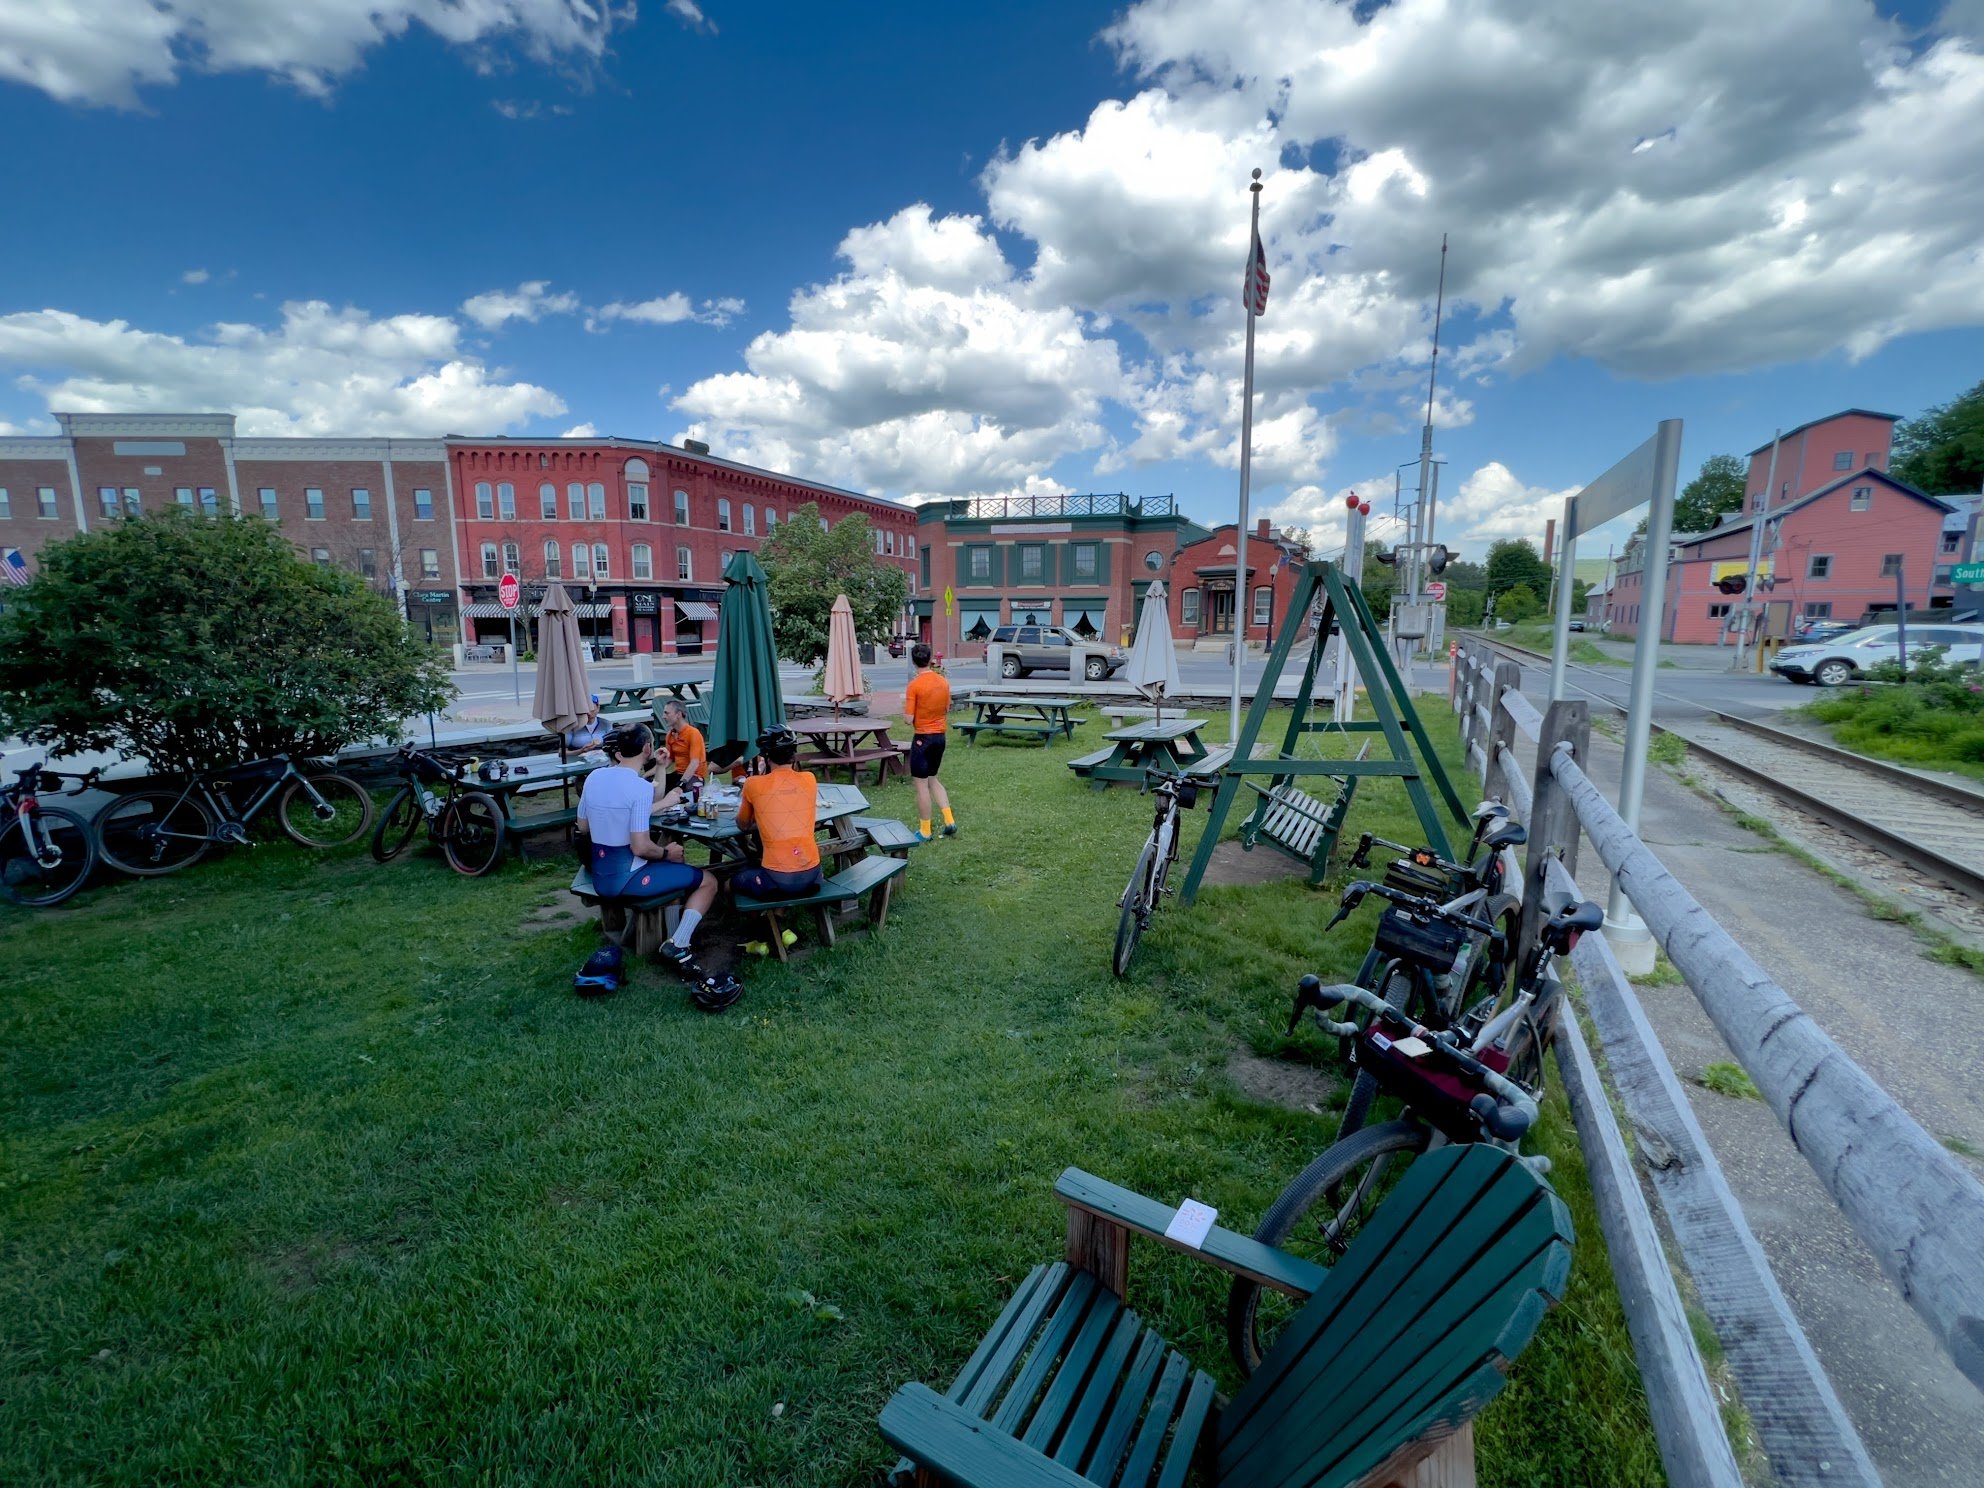
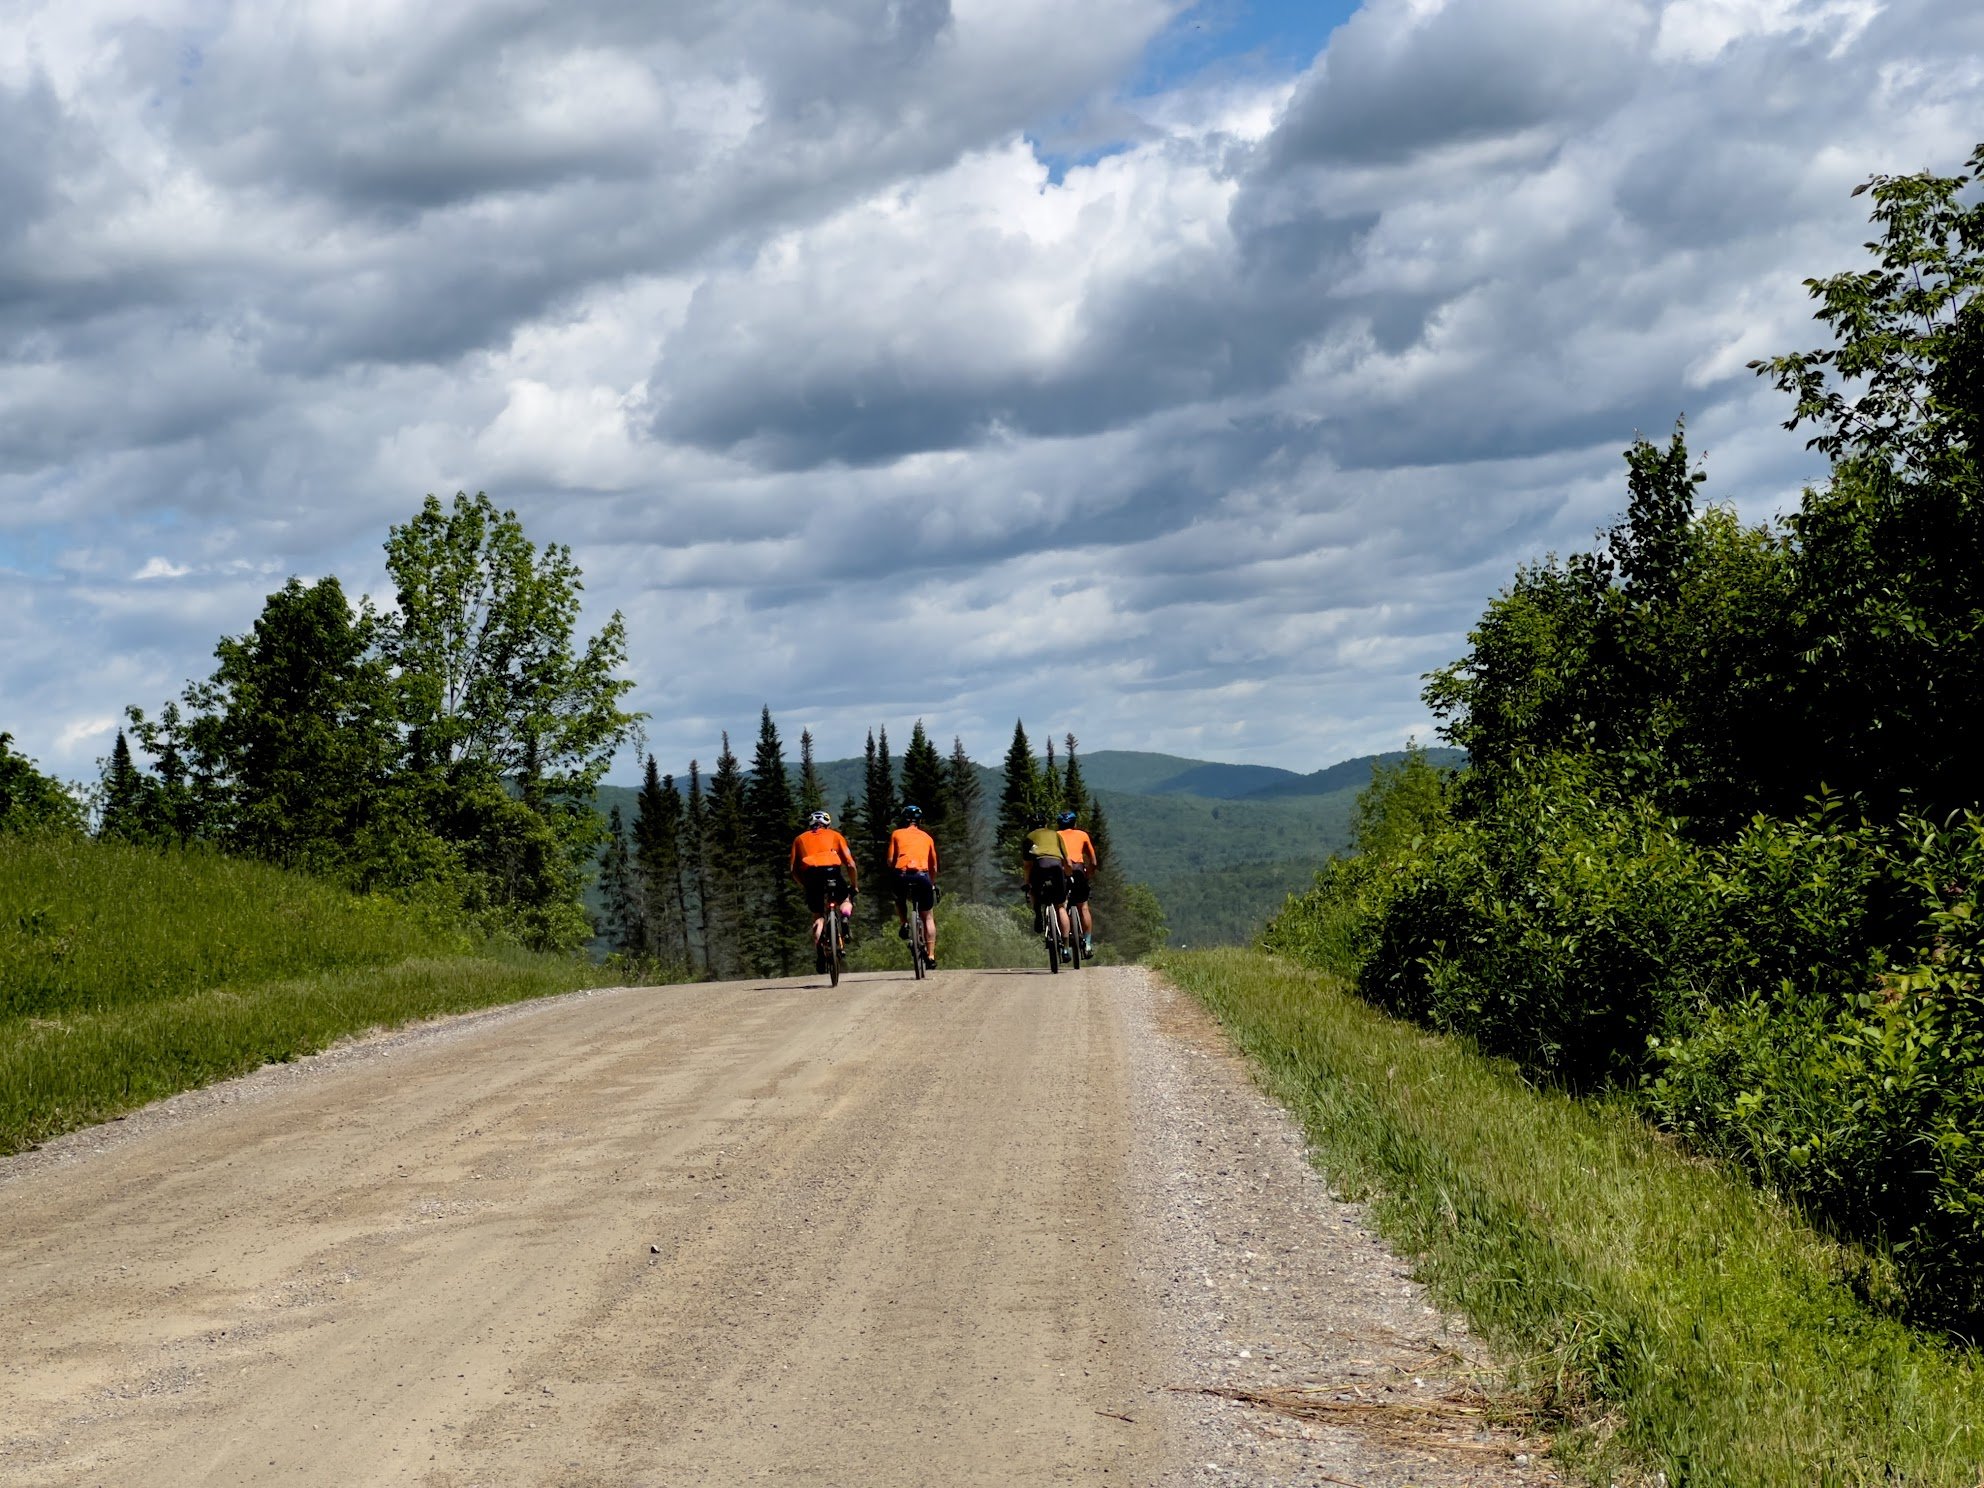
As you can see from the elevation profile above, the 6 Gap concept didn’t exactly translate to dirt. Instead, our route had us climbing for more than 10 minutes apiece all day, with minimal lengths of flat road. Only one climb stands our as an actual ‘gap’, Braintree. Paul had wanted us to have opportunity to the Class 4 climb, our crucible for the day. Arriving much later than planned at our ‘lunch spot’ - 3:45 PM - we formulated a plan for Marc Hunt to skip Braintree and roll a less severe leg back to our accommodations, up and over App Gap. Marc had been pushing a gear that was too high all day (36x30), which was quite a task to manage. Paul had also been vividly describing the challenging climb, so Mike McManus decided to skip it, not being the biggest fan of the rockier terrain. He took Roxbury on his route. Both decisions proved well-taken, as Braintree was indeed a beast. Virtually unrelenting, it was a 30 minute effort, mostly in my lowest gear, hunting for grip over rocks all the way up. The descent was steeper while it remained Class 4, and technical: all sorts of rock, including drops. Punishing on the legs to crouch low and control the bike, survival was the objective, not speed. Bad brakes here would have been very dangerous. Fortunately, the trail transitioned to road, and we were able to continue at speed from there. I definitely would have loved a much larger chainring for this part, spun out in my 38t! In hindsight, it was great to get up and over Braintree, but it’s safe to say we’ll never route ourselves over it. The climb is a straight grind, and the descent isn’t fun on drop bars. so it’s not really the right fit for this format of riding. For a MTB it would be better, but still perhaps a case where the juice isn’t worth the squeeze.
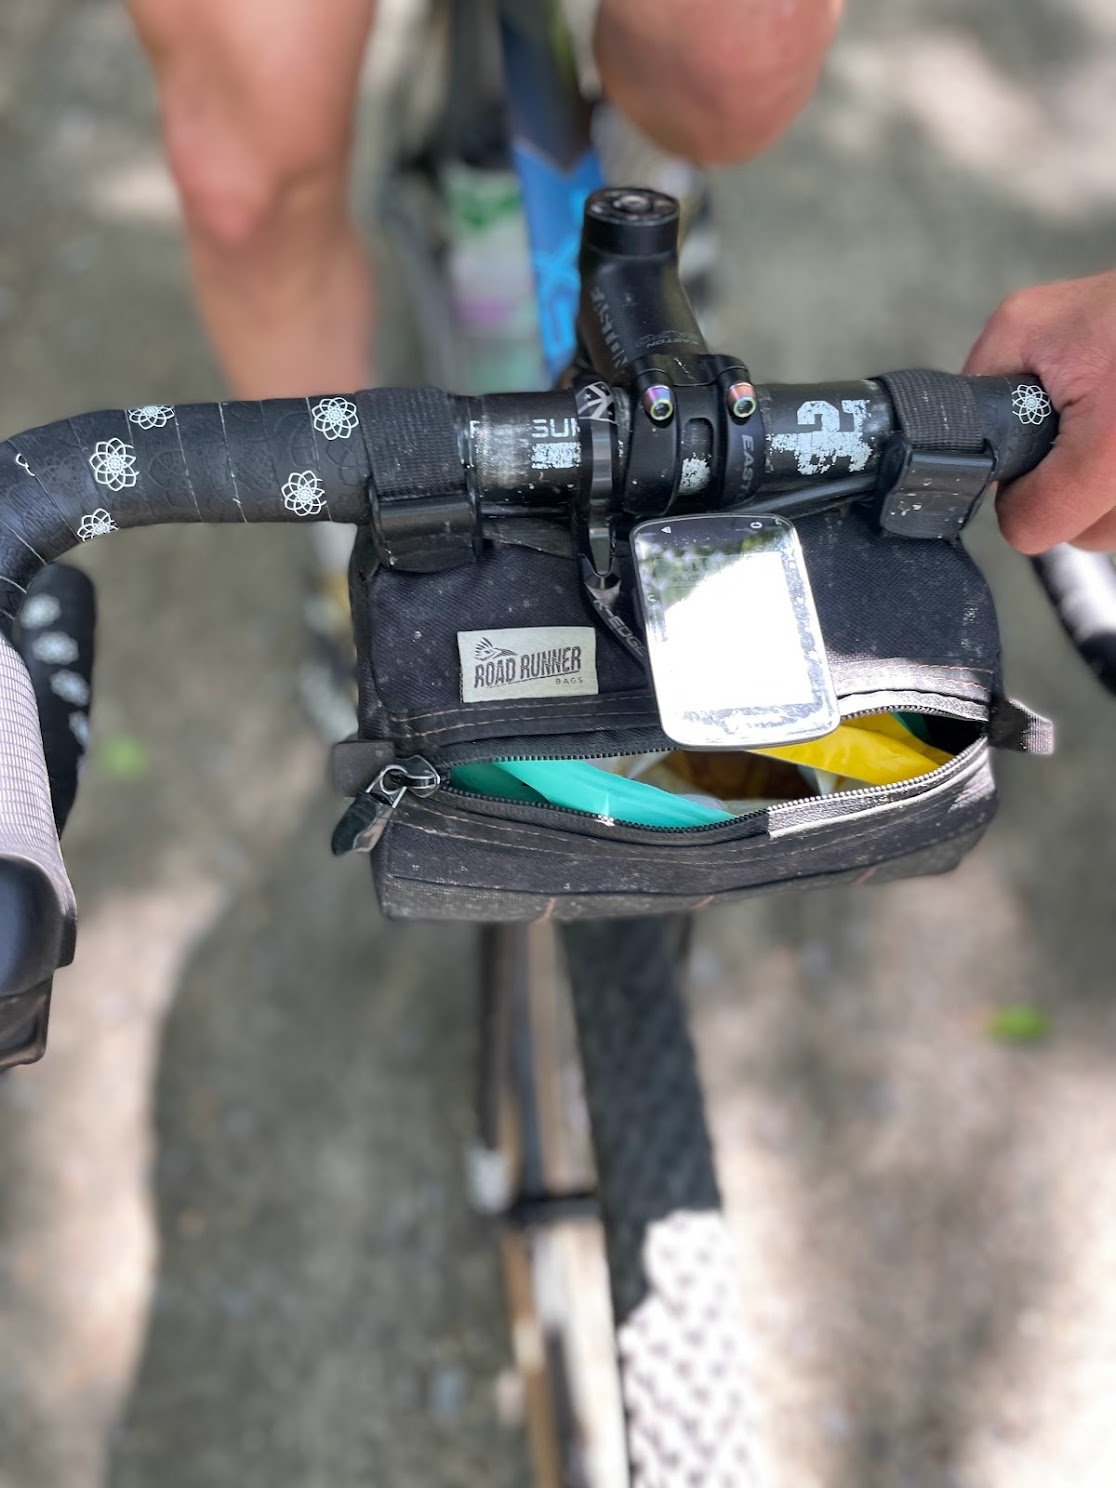
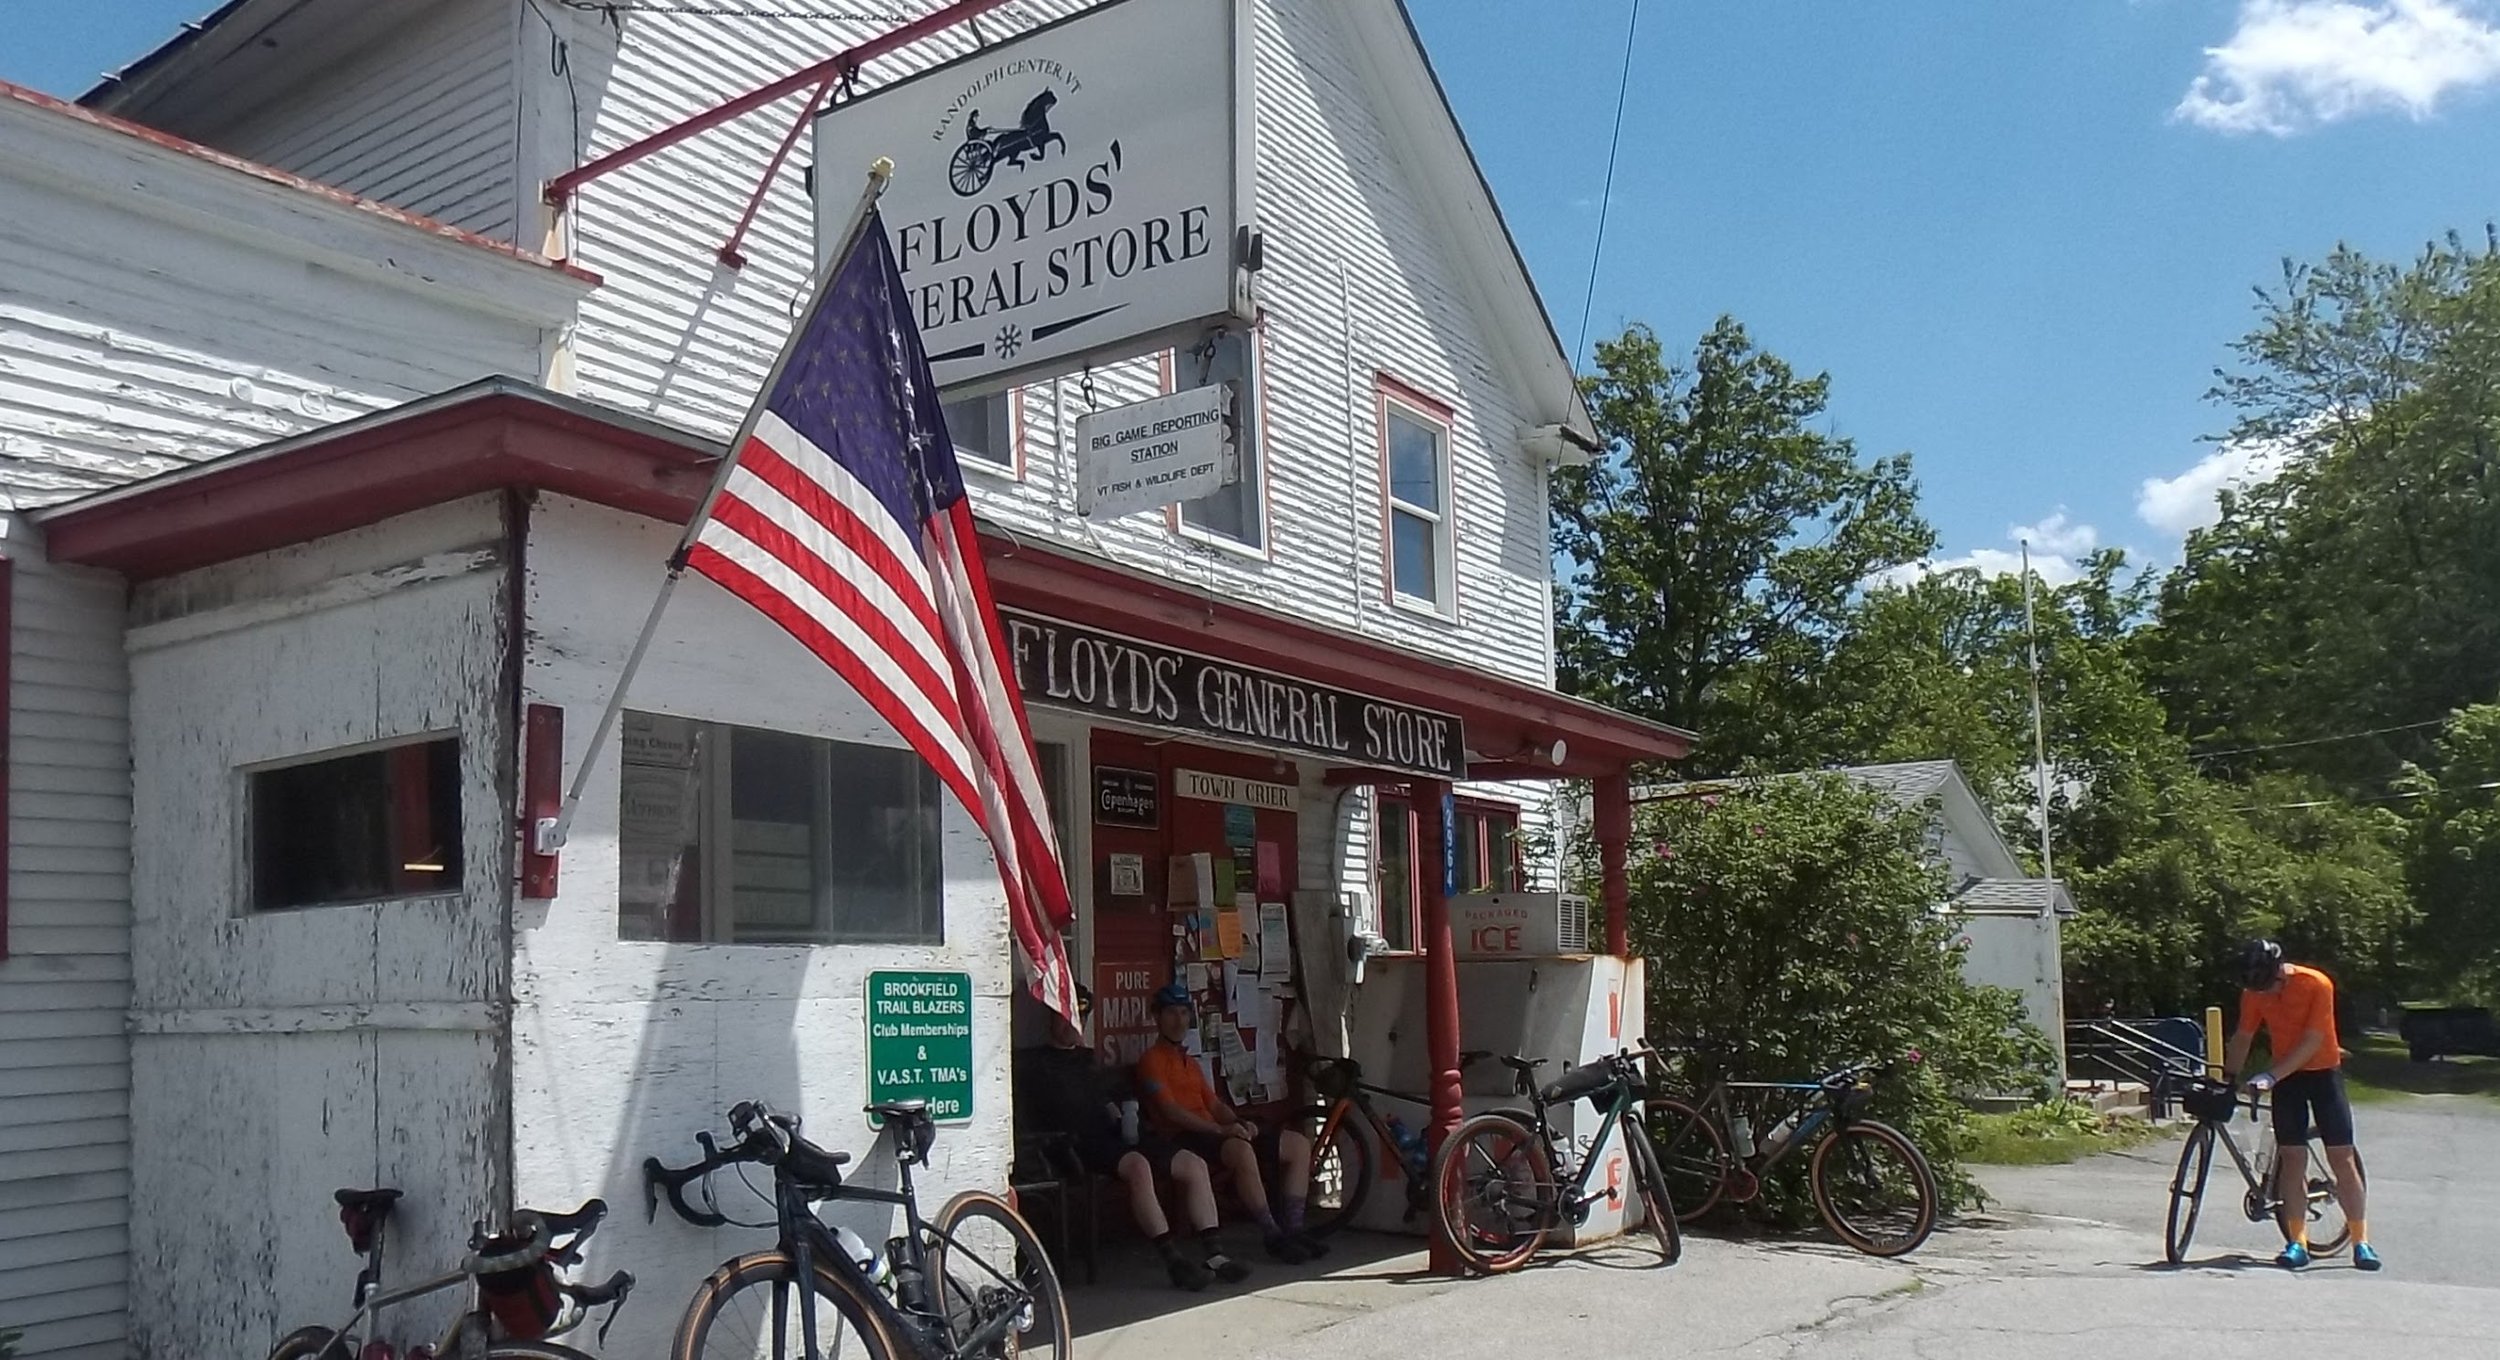
Most of us carried food in handlebar bags, and were comfortable with two bottles onboard. My goal for the day was to eat as close to 100g carbohydrate per hour as I could, and while I certainly fell short, I nevertheless was likely closer than ever before. Long rides can often become eating contests, especially for those who are net yet efficient. The tougher the terrain, the more we flail around and burn through calories while making decisions, so it’s important to keep a steady flow of nutrition and water going in. When riding back to back days, you’re always going to be eating for the effort, and for recovery into the next day. I picked up a couple packages of fig newtons from Trader Joe’s, and while they did get pulverized in my bag, they also worked really well in terms of volume : carb. The next day I was tired, for sure, but comfortable with the effort. The general store in Randolph is great, but falls very late in the route as we' rode it, so you might wish to tweak things to get in there earlier. There are numerous places to stop in along the way, so take the time to look at the maps and decide when to at least top up your fluids. Bringing along more food than you think you’ll need is often wise, as smashing masses of food while stopped isn’t generally going to feel good once you get climbing again; stores are in the valleys!
DAY 1 - Mad River Riders Route - “German Flats - Inferno - Plunkton - E Warren”
DAY 3 - Rooted Vermont Inspired
Day 1’s route was pretty basic, and some of the route had recently been paved, shifting it into more of a road route than dirt/gravel. VT Route 100, south of Warren, is perhaps better avoided, but for a loop this size, we didn’t have an alternative. Day 3’s route was phenomenal, an adaptation of the longer Rooted VT event course. Honestly, this one would be hard to beat for the length, not least because the Class 4 sectors are totally awesome. Ok, one descent might be a little too awesome for some (fast and gnarly); all my tech recommendations apply. I would definitely replicate this route, and perhaps use it as the basis for a longer day.

