
Winter Cycling: What to Wear
I’ve written about dressing for winter cycling in a couple other pieces, and honestly, one could go on for ages about the topic. Lots of folks are getting into commuting by bike through winter these days, fat biking continues to grow in popularity, and snirt riding remains a thing.
When I say ‘winter’ I’m talking about temperatures below freezing. But for many, ‘winter’ sees temps around 10 Celsius. Experience has taught me that dressing for riding in the rain between 0 and 10C is the most difficult to get right. Below freezing is easier, and as temps climb above 10C, it gets easier and easier to be warm while wet.
I’m going to break this down into a few areas to help guide you through my recommendations on dressing for weather below freezing. I’ll begin with some principles that underpin dressing well for any conditions, then cover each region of the body and the kit that’ll help you ride comfortably. *This pieces was updated in February, 2021.
Principles
If you walk out the door, stand outside for a few minutes, and feel toasty warm, you’re dressed too heavily for the weather. You should be cool-cold as you stand outside.
The more consistent your intensity, the easier it is to get your kit right. As you start riding, your body works to figure out the appropriate sweat rate for the intensity you’re putting out, and the amount of heat your kit is retaining. If you’re dressed heavily and start riding hard immediately, your body will have to dump excess heat as aggressively as possible, via heavy sweating. This will dampen your clothing, and set you up to HAVE TO keep generating excess body heat in order to keep that moisture from chilling you.
Hands and feet rely on circulation of warm blood from the core through the legs and arms. Obviously. This means that under-insulated arms and legs will allow the blood to cool as it circulates to these extremities. In other words, your hands and feet only have a fighting chance of being warm if the arms and legs are warm.
Moisture management is the name of the game when it’s below freezing. It’s easy to pile layer upon layer and be warm and wet. However, as I detail in my piece on Castelli’s Elemento Lite jacket, warm and wet is dangerous in temps below freezing, and even temps well above freezing, in certain circumstances. If riding in weather where rain is unlikely or impossible, staying dry is the objective.
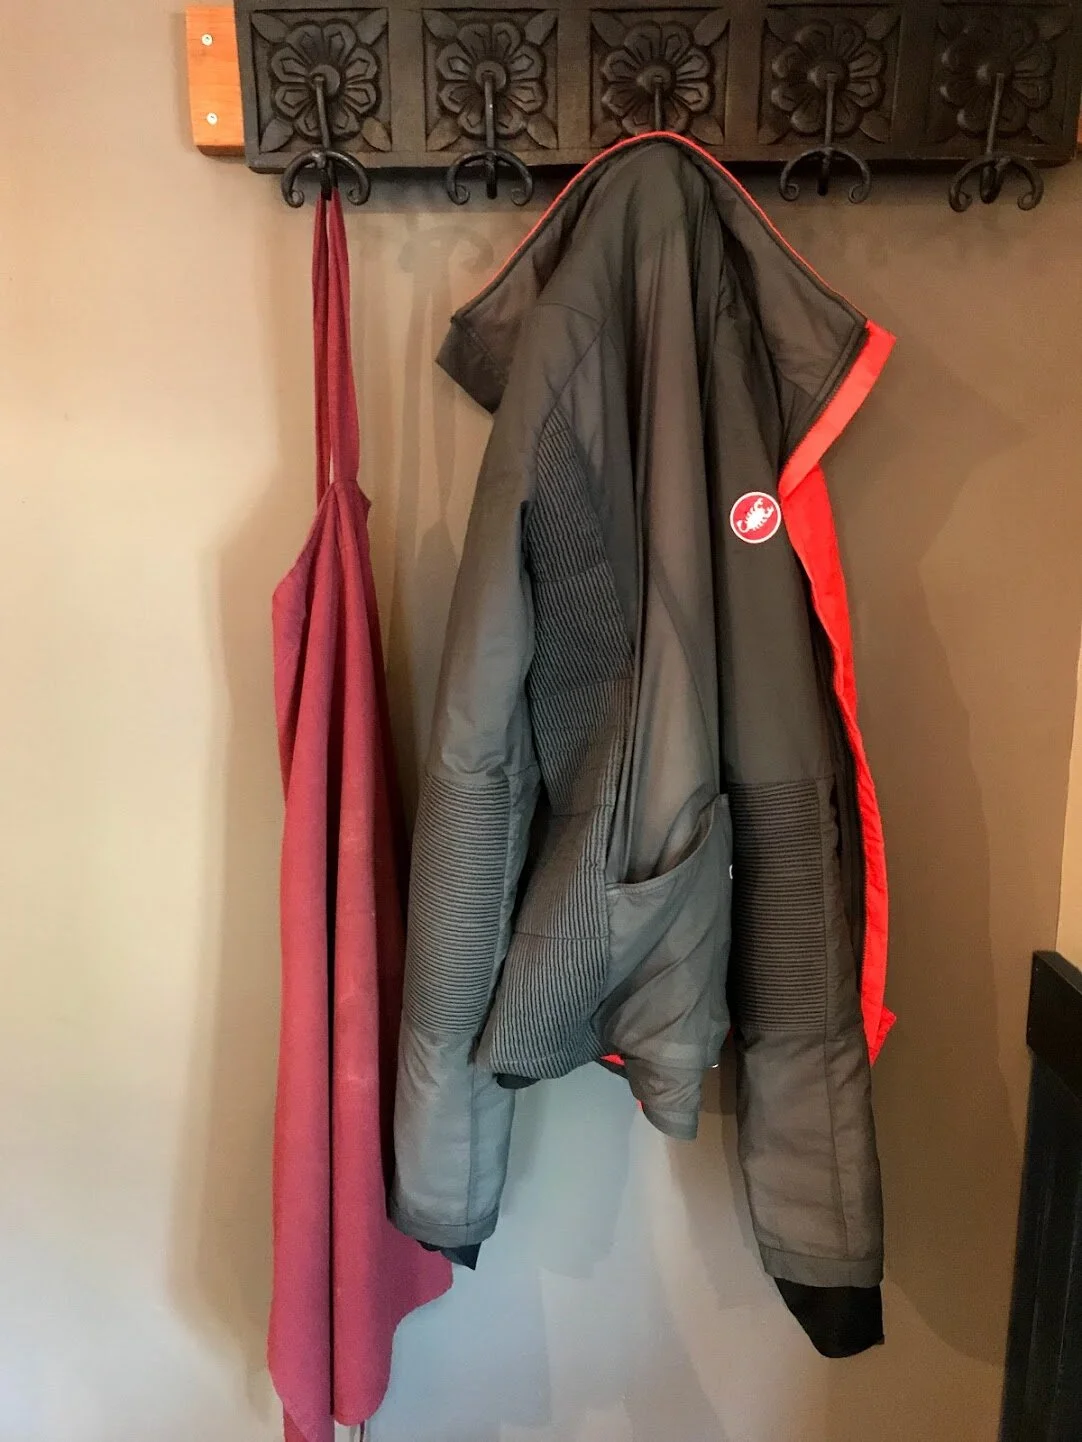
Insulation and heat retention is vital when riding in cold and wet conditions. A significant portion of the heat retention dynamic is wind-protection and heat-sinking. Water-logged fabrics conduct heat energy more than dry. This means you will ‘bleed’ more heat from your body as you become wetter. If you are damp but totally protected from wind, you’ll retain heat while you continue moving and producing excess heat. For cold and wet conditions, the Castelli Alpha RoS 2 jacket has proven outstanding.
Air is an excellent insulator.
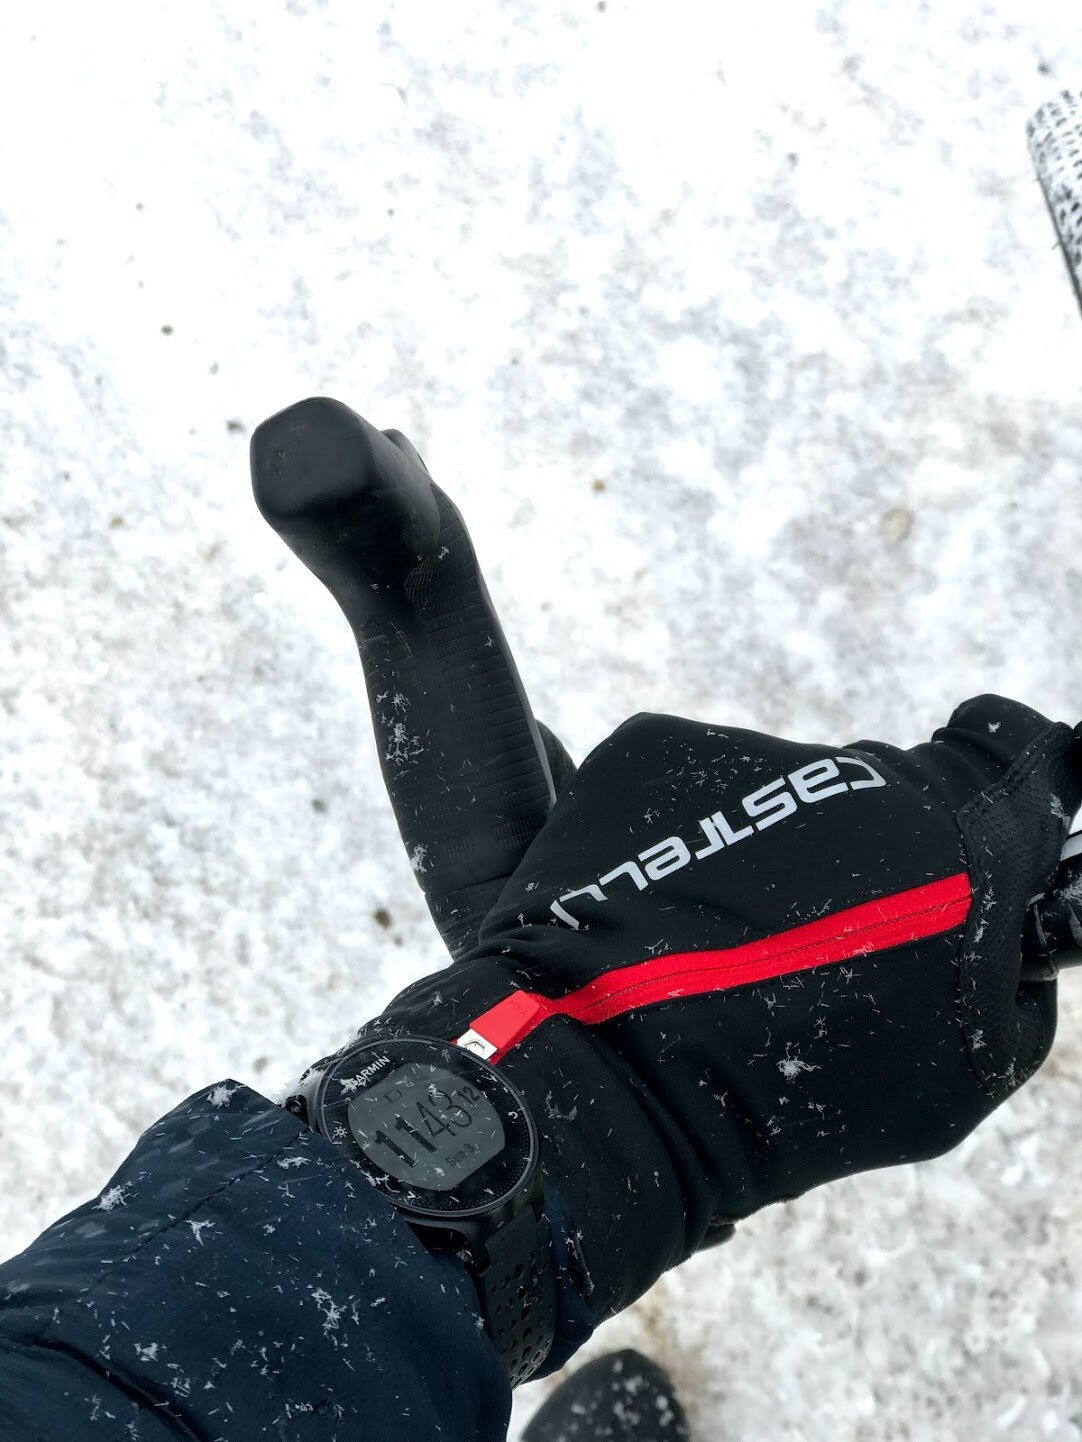
Metal is a heat sink; it sucks heat out of your body. If you are clipped into pedals with metal cleats, as your feet become more damp, the metal will function as a heat-sink, and draw heat from your feet more and more as moisture from perspiration accumulates within your footwear. Similarly, metal handlebars will draw heat from your hands. This is why I decided to take the leap and try carbon bars for the first time.
Wind is both friend and foe. We have to learn to read it and use it to our advantage when we can. For example, wind dries us out when we overheat…if we work with it.
Some riding requires modular kit, other riding doesn’t. The more varied the terrain you’re riding, the more you’ll need to be able to tweak your kit on the fly. For example, vests are really valuable for folks riding up and down mountains in the cold. A vest can be open on the way up, and closed for the way down. This is quite different than wearing a wind-proof base-layer, which cannot be tuned whatsoever.
Hands need dexterity for safe operation of the bike, for tuning clothing, fixing flats, etc. Feet don’t require dexterity to pedal. Cold feet suck and are annoying, but cold hands are potentially deadly.
What follows is my best advice for kitting up to ride outside below freezing. I focus on the things I’ve found works well between -15C and -3C. I’m assuming ‘normal’ circulation to extremities. In some areas I provide a warm and warmer option. Adjust as required.
If you’d like to see details on specific kit I’ve worn in the cold (and wet) over the last year or so, juxtaposed against actual weather data, routing, and effort level, check out my kit performance log. I’ve found this really handy for reminding myself what works well, and for experimenting upon a baseline. I can see from my data that I was wearing a little more under the Castelli Elemento Lite jacket in 2018-19 than I needed to, which I’ve adjusted for as I dress this winter.

Head and Neck
Warm
Winter cycling cap or light toque - you want good forehead coverage, snug over ears
Regular cycling helmet - ‘aero’ options with few vents or add-on shield are nice
Shield glasses - the larger the better, clear or contrast lens
Light neck tube, like this one from Mad Alchemy
Warmer
Light toque or helmet liner
Snowsport helmet
Goggles
Heavy neck tube, like this one from Icebreaker. Tip: place neck tube over nose, and tuck under goggles.
Balaclavas work too, I’ve just never had one I liked.
Core
The following system served me well for years, and essentially reached perfection (or, so I thought at the time) in 2018-19, when I incorporated Castelli’s Elemento Lite jacket (read my detailed review here). The incorporation of Castelli’s Alpha RoS 2 jacket has ‘evolved’ this system. More on that below.
Brynje Super Thermo polypropylene fishnet baselayer, long sleeve.
Merino wool long sleeve base layer, from 180gm to 260gm weight. Example: Ibex Woolies Crew
Breathable jacket - waterproof and windproof not required. Castelli’s insulated Elemento Lite is the best I know of.
If you want to bump up a bit warmer, add light merino layer over fishnet, like this 150gm unit from Icebreaker
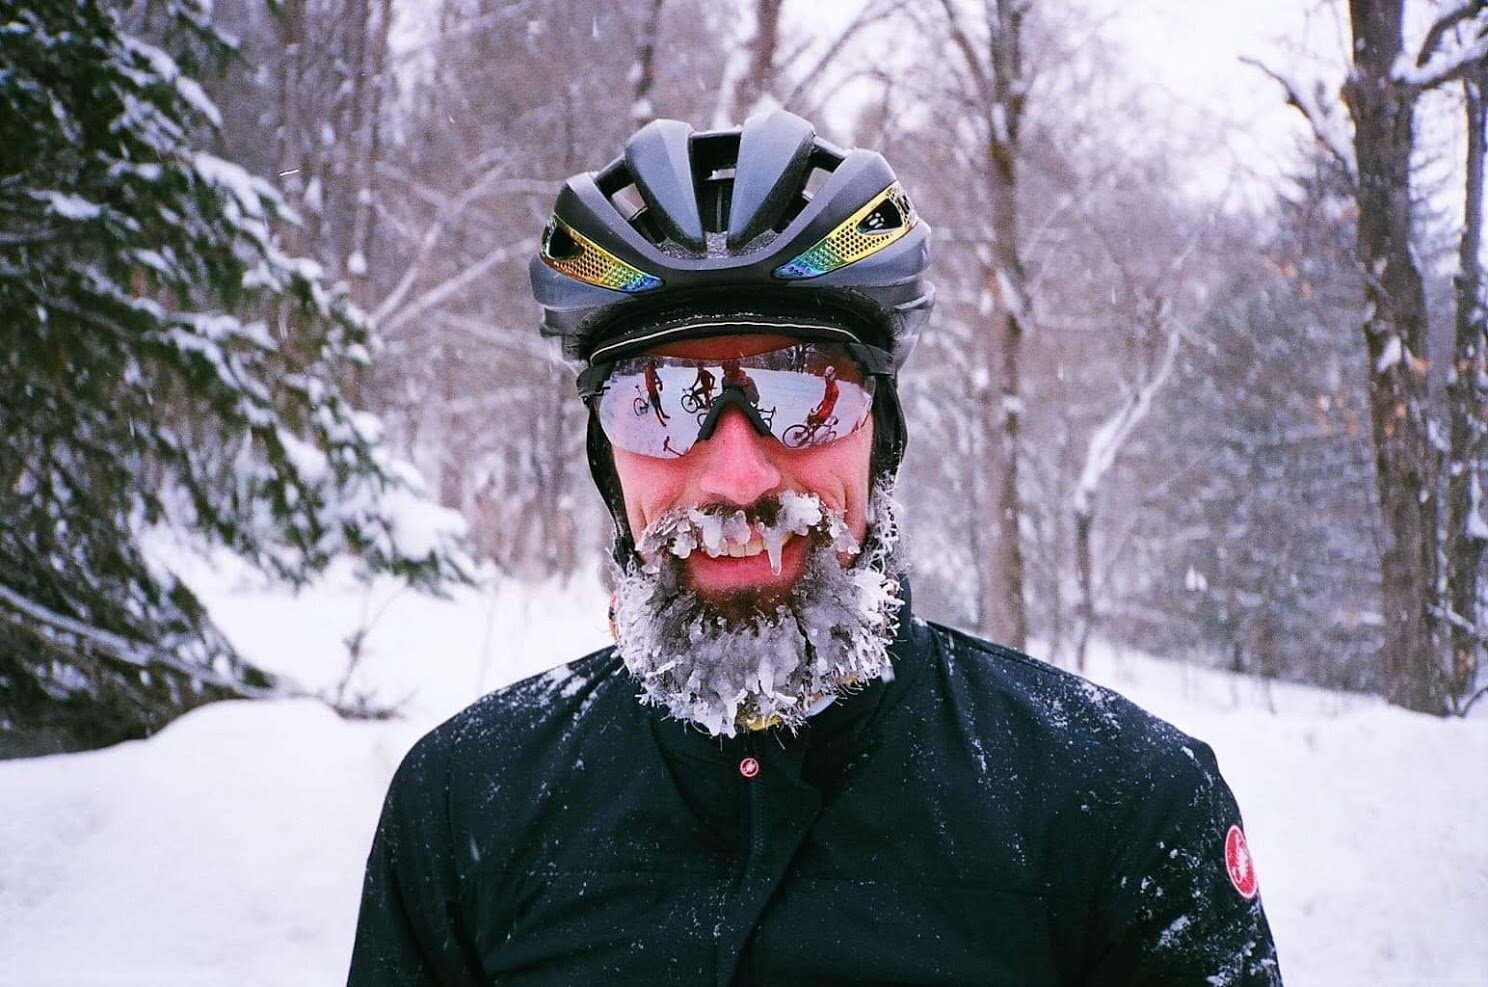
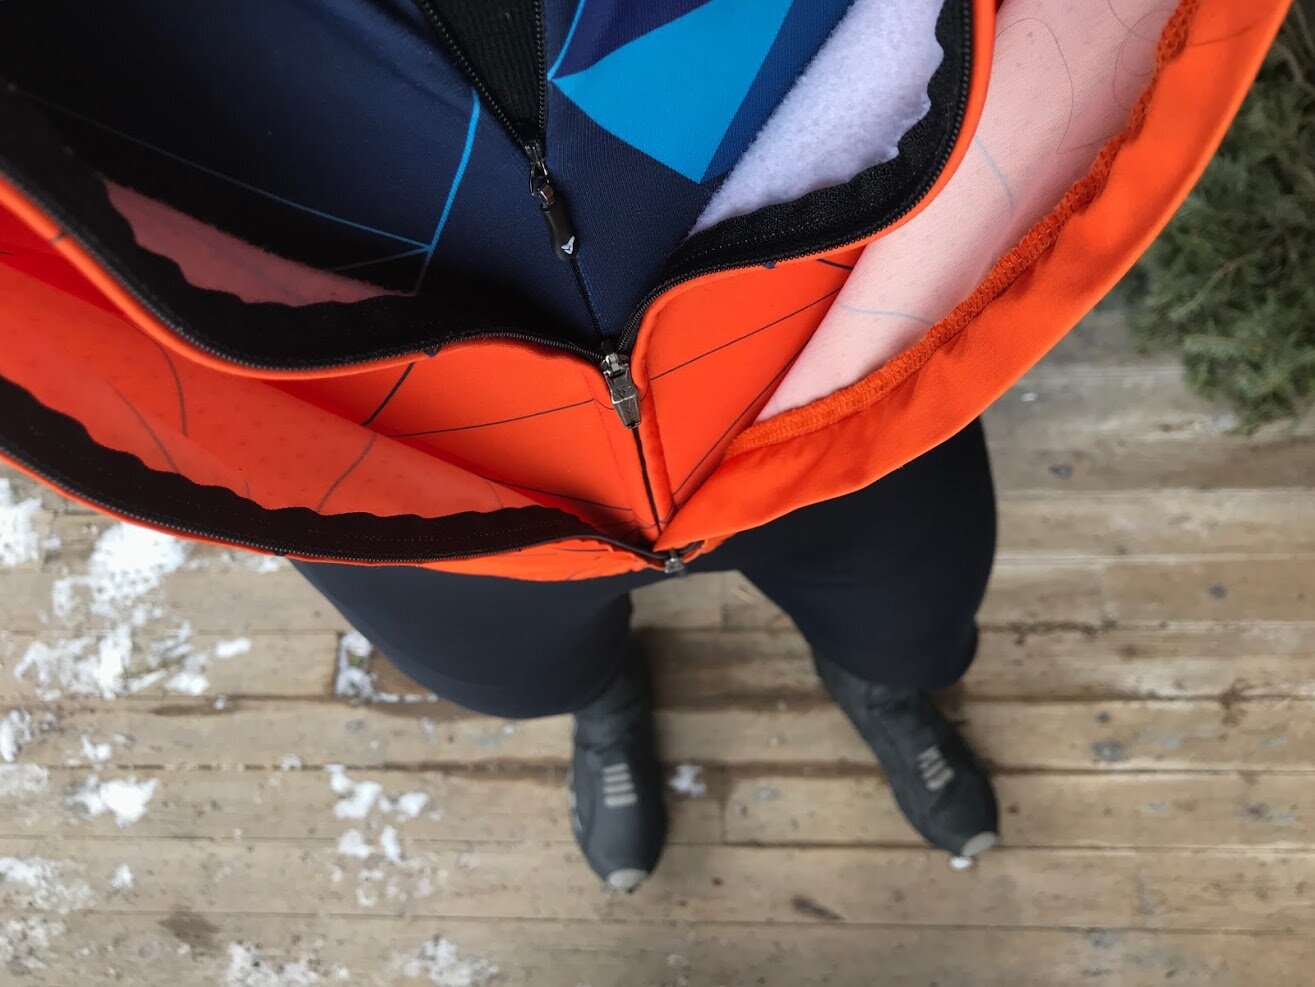
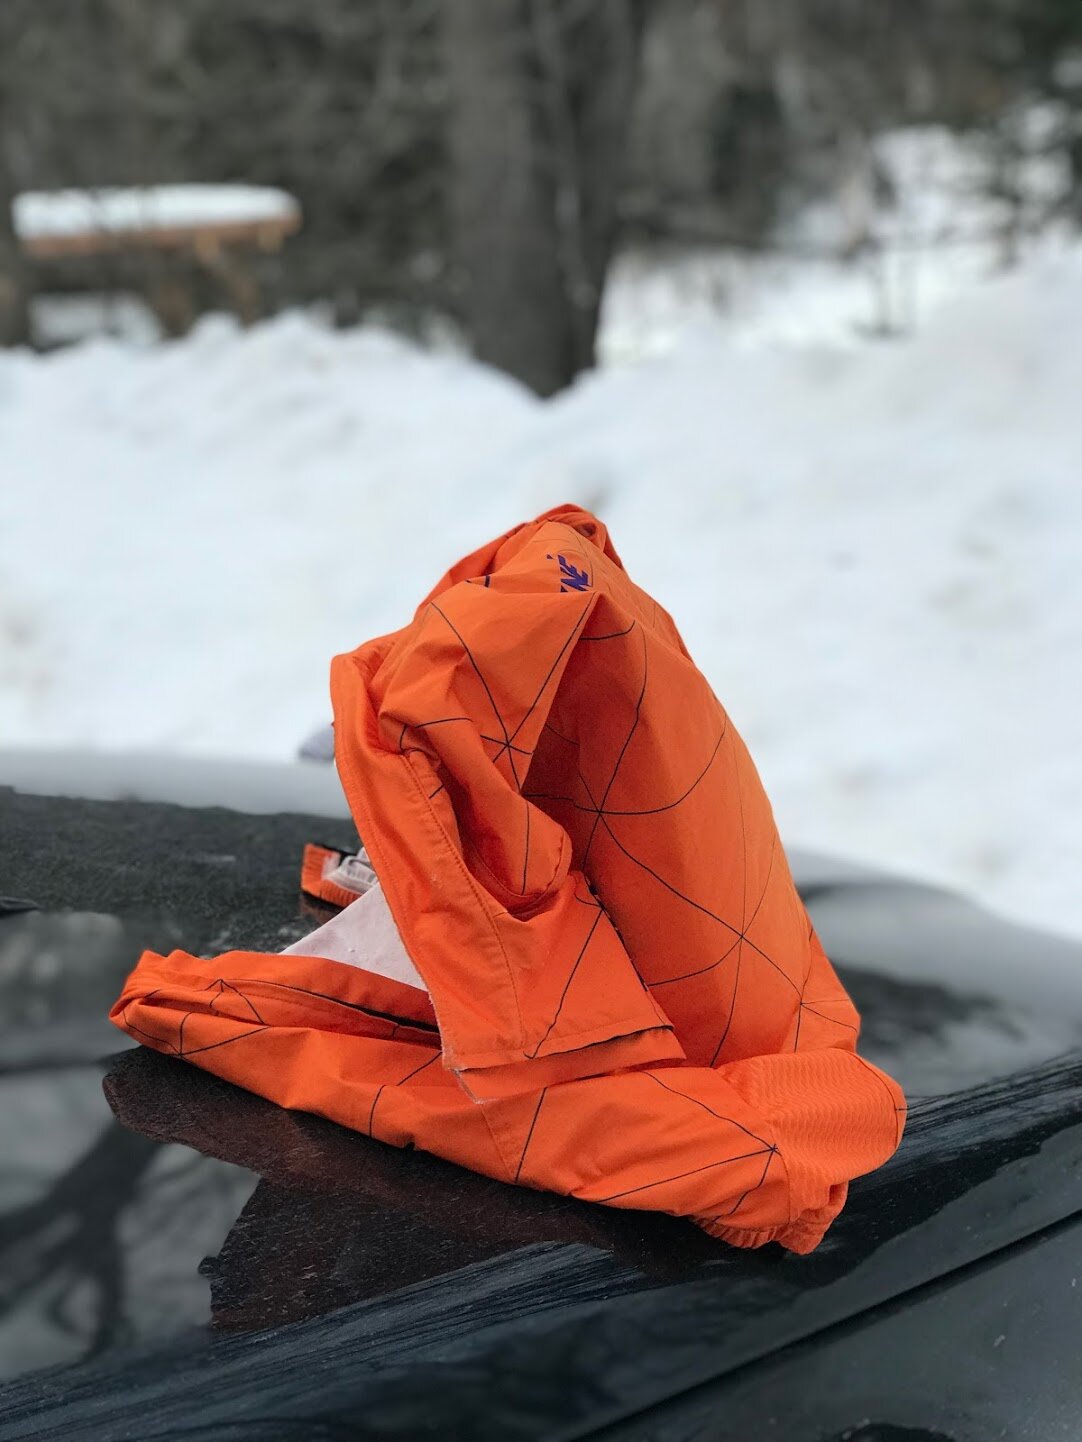
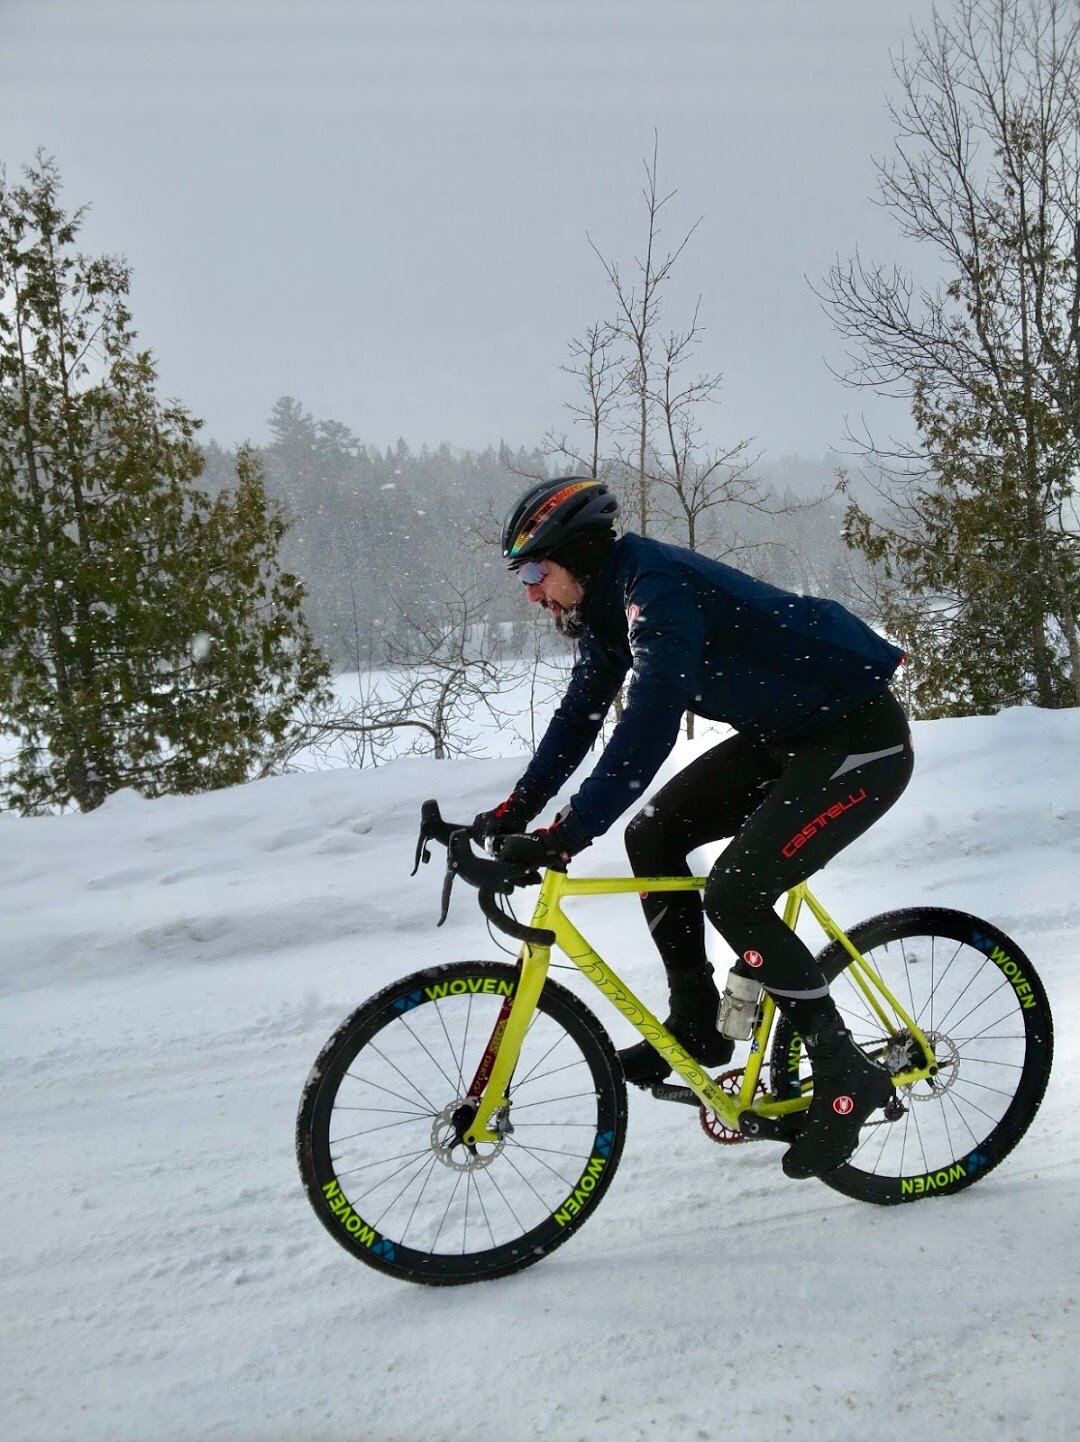
If using a shell jacket, you’ll want to move moisture away from the body, and allow it to freeze between a somewhat loose outer jersey and shell. You can see this approach in practice above, where I’m wearing my thermal cyclocross skinsuit under thick tights, then a thermal jersey and wind vest. The vest is standing up on its own at the end of the ride because it’s inner surface is coated in ice. Ice like this doesn’t chill you, but will melt as soon as you go inside, which precludes coffee stops (this is one of the reasons the Elemento is much better). This format requires heavier gloves/mitts than when insulating the arms more.
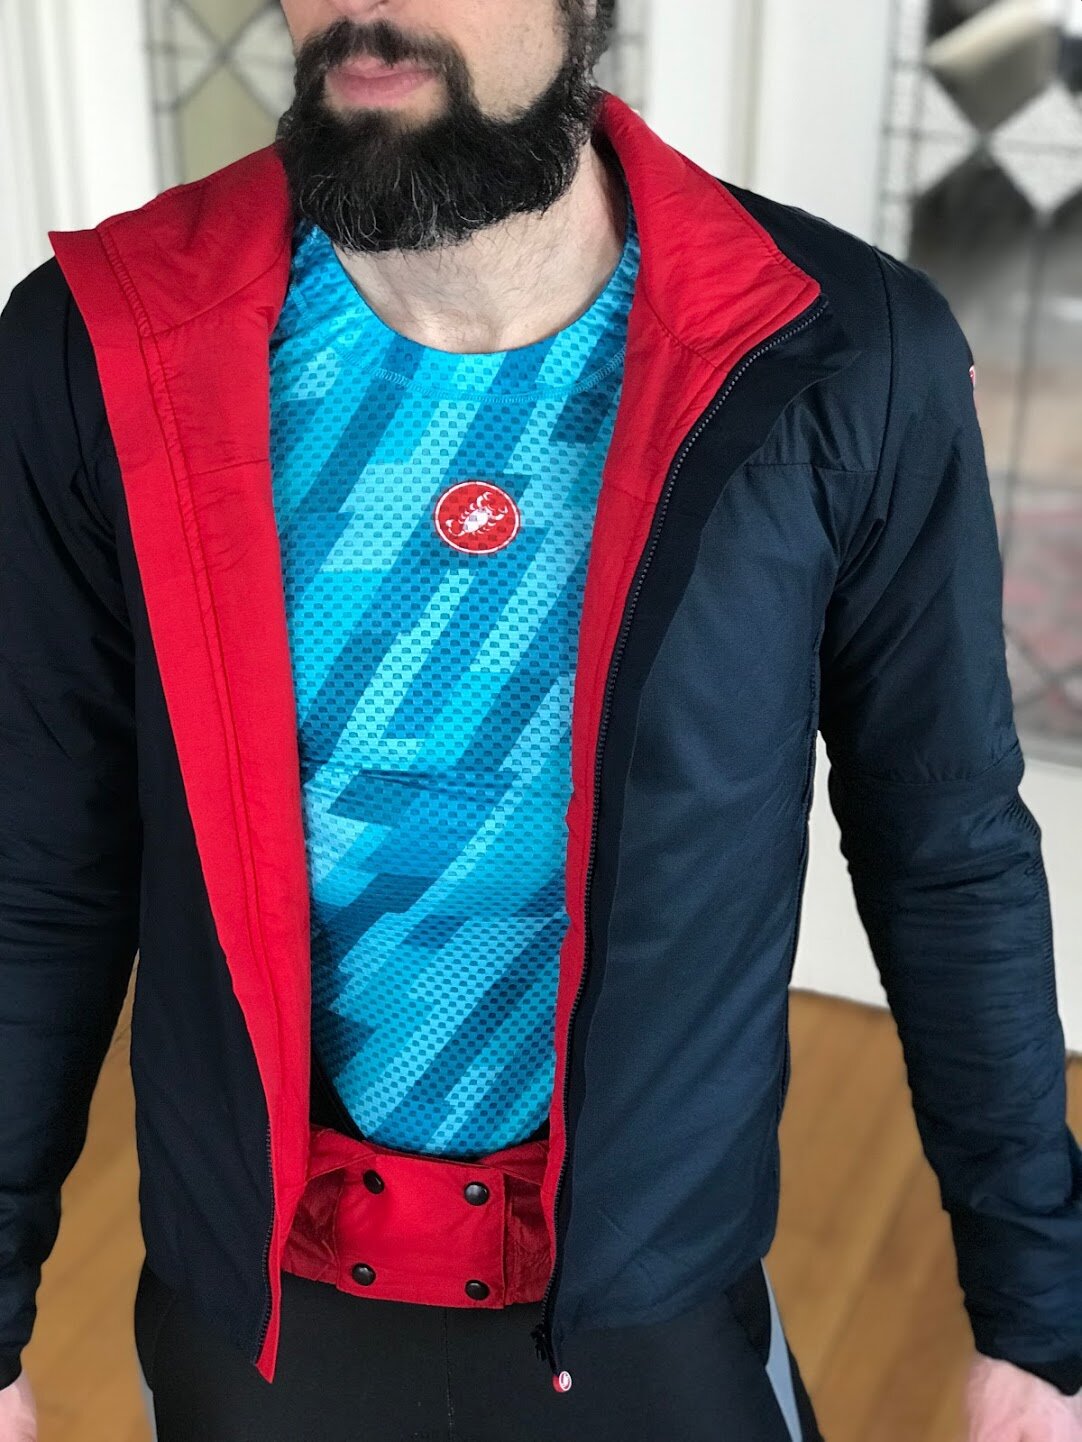
For 2020, Castelli introduced the Alpha RoS 2 winter jacket, while the Elemento has been discontinued (get them while you can!). The Alpha RoS 2 , now their warmest winter offering,, yielded extremely positive results through cold and wet fall and early winter rides. The jacket was perfect for the 200km ride I did on winter solstice, and you can read my in-depth piece on the jacket here.
I’ve also been testing Castelli’s new Prosecco Tech full-sleeve base layer, which is performing exceptionally well too. It might wind up rivalling the polypro fishnet I mention above; time will tell (Updated February2021).
The ‘breathable-thermal’ with vest approach is best suited to temps above freezing, and it can be challenging to get just right. However, it’s worse to use all tight layers under a shell that traps so much heat that everything within becomes and stays wet. This is potentially dangerous. Warm and dry is the goal. When it’s milder a simple approach is to use a jacket with wind-blocking on the front, and breathability on the back, such as the Castelli Raddoppia 2 jacket. Often, opening up the jacket a bit is all that’s required to evaporate moisture accumulation.

Legs
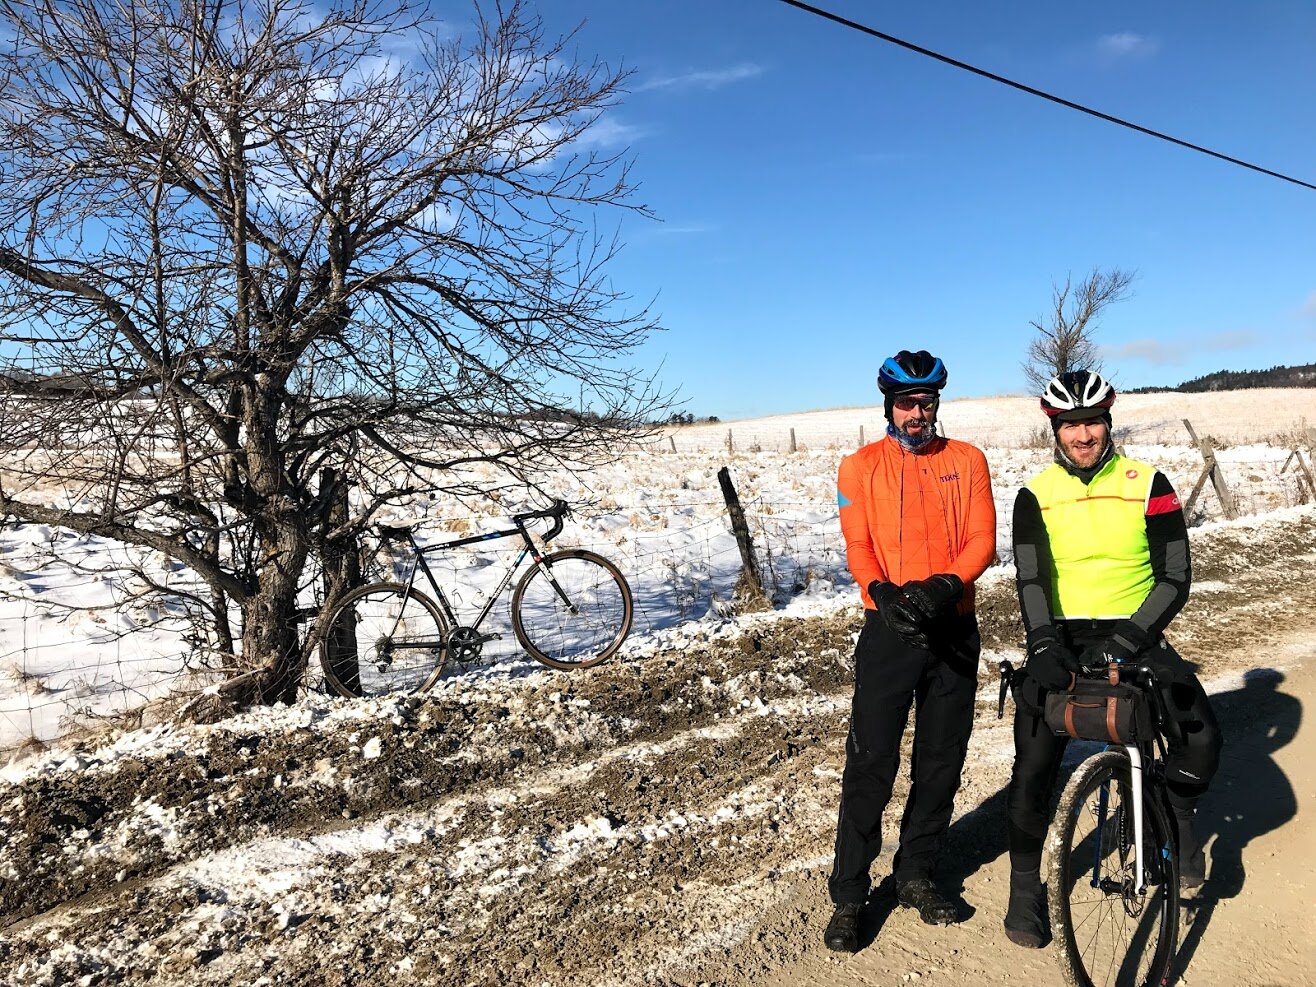
The pistons are not terribly difficult to get right in the dry cold. I used to wear thermal knickers (3/4 bibs), with weather resistant tights over top, and for the really cold days, another pair of mtb pants on the outside of those two layers (as above). For fat biking, less wind protection is required than on the road, and efforts tend to vary more, so a thermal layer covered with MTB or XC ski pants works well.. I recommend using suspenders if you use pants.
I wasn’t sure it was possible to wear just one piece on the legs down to around -15C until I tried Castelli’s winter Polare 2 winter bib-tights. One of the great things about tights like these, which are quite water resistant, is that they have a broad use-range, about 30 degrees. It’s nice to have a core piece like these to take some of the guess-work out of dressing for the cold.
If you expect to ride in the cold multiple times weekly, you might want to go with a solution without a built-in pad, so that you can wear bib-shorts or knickers underneath. The rationale here is that since you ought to wash whatever piece with a pad after every use, you’re better off distributing that laundering wear-and-tear across various bibs, versus one pair of expensive tights. Plus, for those riding daily, it doesn’t make sense to wash and dry tights every night. If this is you, go for a pair of tights without a pad, and wash them as needed.
For folks who won’t deal with many days below freezing, but more often between 0 and 10C, I’ve had excellent results with Castelli’s thermal bib shorts paired with their Nano Flex 3G leg-warmers. There are two formats for the bibs: Omloops for a longer cut, which protects the knees more when worn alone, and the more conventional cut, as used for the Tutto Nano. There are a few options in the Omloop format, the Nano Flex Pro 2 being the most protective. The Tutto Nano has a bit of a more conventional cut (though also long), and a few nice features, like reflective panels, that make it a versatile option, especially for folks commuting to work across a broad range of cold conditions. When paired with the Nano Flex 3G leg-warmers, any of these options become equivalent to tights, while the modularity affords greater flexibility when covering long hours, or shifting weather.
Hands
Everyone is different, so you’ll need what you need. Bar mitts are an option that makes the whole system pretty simple. You can use not-so-heavy gloves inside, and maintain full dexterity. However, many, myself included, get anxious when thinking about fat biking with bar mitts, and not being able to get hands free fast enough when about to crash. I’m told this isn’t really a problem.

HOT TIP: You might be able to ride comfortably with less hand protection than you think. Try starting out your ride with lobster or mitt shells over the gloves you want to ride in. After about 15 minutes of pedaling, check in to see if your hands are toasty. If so, pull the shells off, and continue on. If your hands are cool, stop for a minute to to ‘the whip.’ This move mimics double poling of XC skiing, but with a really accentuated flick of the hands at the 6-o’clock position. This forces blood into the ends of the fingers, and ‘supercharges’ the circulation of blood. Generally, after charging the hands, they stay warm for the balance of the ride, unless the gloves used are totally inadequate and/or intensity drops off.
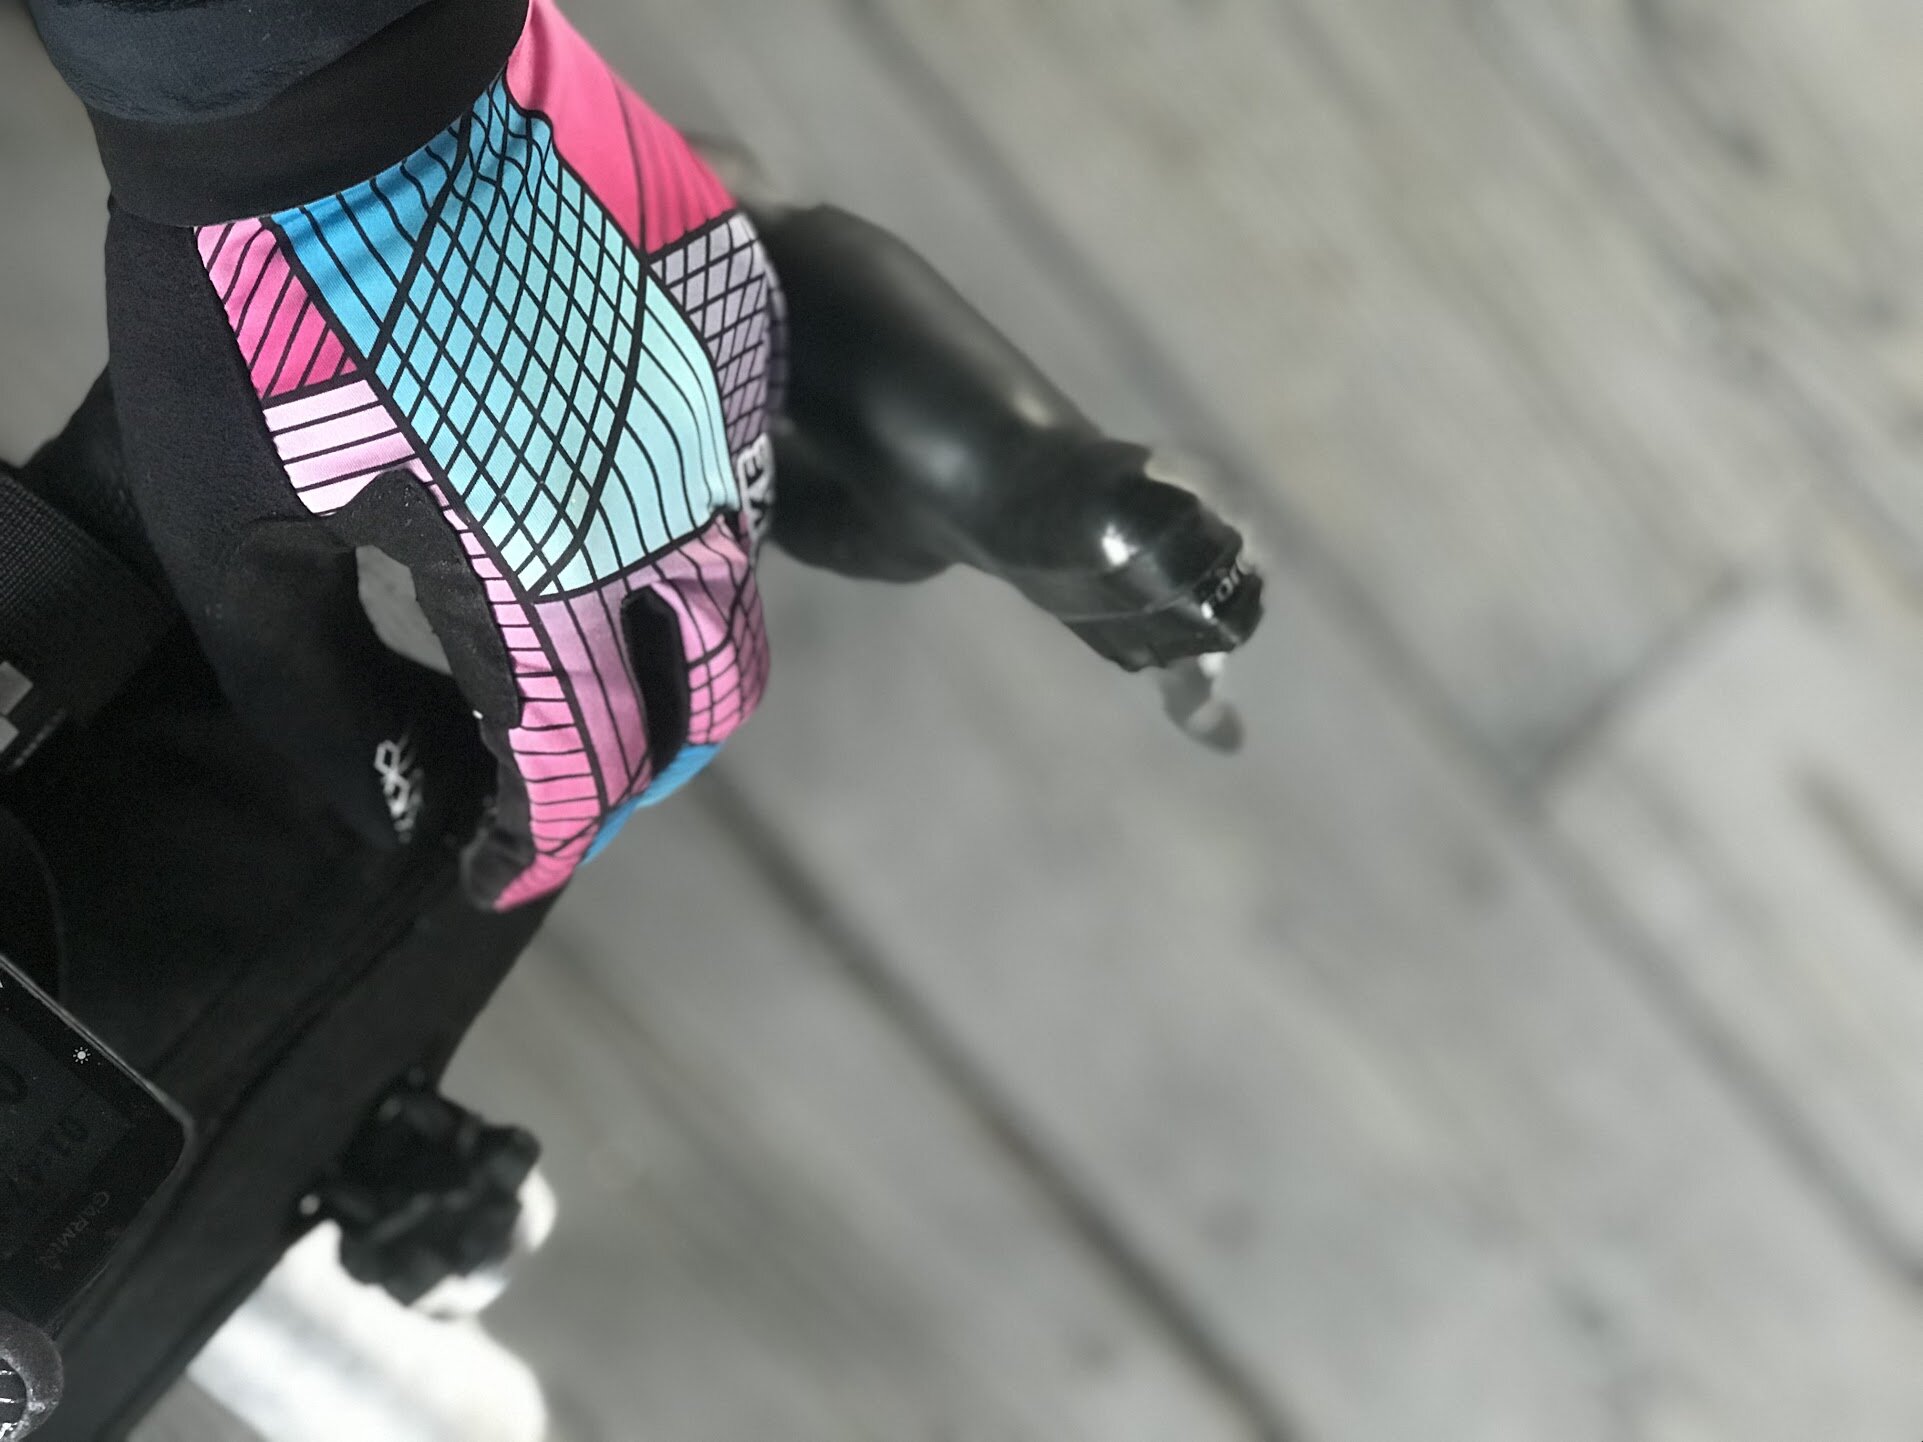
Around freezing, insulated gloves with wind-stopping fabric on the back of the hand work well once your circulation gets going. The lightest option I’ve successfully used in this temp range is Handske’s Windproof gloves, which have just the right density of insulation on the palms to feel really direct, and wind doesn’t get through their backs.
A bit colder, between about -3C and -15C, I’ve had great results with Castelli’s Spettacolo RoS gloves. These do a great job regulating heat through transitions between climbs, descents, and windy sections of road, and designed to mesh seamlessly with road shift/brake levers. How? Their index fingers are built with extra length so there’s enough space to avoid jamming the finger into the end of the glove when riding on the hoods. Genius! I’ve had great rides in the Spettacolos with a thin merino liner glove inside for the colder days, and/or a lobster shell over top for the start of rides, especially when the temp is expected to ride over say, 4 hours of riding.
Below -15C, I tend to layer gloves, using wool as the base, then different weights of gloves over top with wind blocking. Windstopper from GORE tends to work well. When it’s quite cold my heaviest option is the Black Diamond's Guide Finger Glove, with liners inside. They are not great on the dexterity side, however, so I prefer not to use them if I can avoid it.
Castelli has recently introduced a new warmest glove to their line, the Espresso GT. After more than 20 rides, including one in the rain at 4C (‘winter’ for some folks), I’m a fan. The gloves use Primaloft Gold insulation and a GORE-TEX waterproof membrane, which I can confirm works as advertised. These have become my go-to option for all the winter rides I do, as they take me down to my cut-off, -15C. Moisture build-up is the only thing to watch out for, which can result from overcompensating for cold conditions with a shell glove/mitt over the Espressos. The idea is NOT to have toasty warm hands, but warm hands. The Espresso GTs don’t feel damp when they are, so if you wrap them up in a shell out of fear of being cold, you will reduce their breathability and moisture management. As moisture accumulates within their wind and waterproof membrane, it will conduct heat. Thus, you’ll start to chill because you’ve trapped too much moisture, not because the gloves couldn’t handle the cold. This is a classic case of applying a ‘solution’ that itself causes the problem its supposed to solve. (Updated Feb, 2020).
Some use chemical warmers within their gloves or mitts. I don’t see the need for them, personally, but again, everyone is different. If you can get the right coverage, and supercharge your hands, you might be able to spare the expense and garbage.
I tested and reviewed Racer’s heated E-Glove for Pedal Magazine in 2018; you can find the article here. I liked them, and they could be a great solution for folks who can’t seem to be warm wearing anything with a reasonable amount of dexterity. They’re not cheap, and managing more batteries isn’t going to be appealing to everyone, but it’s great that we have the option to go electric.

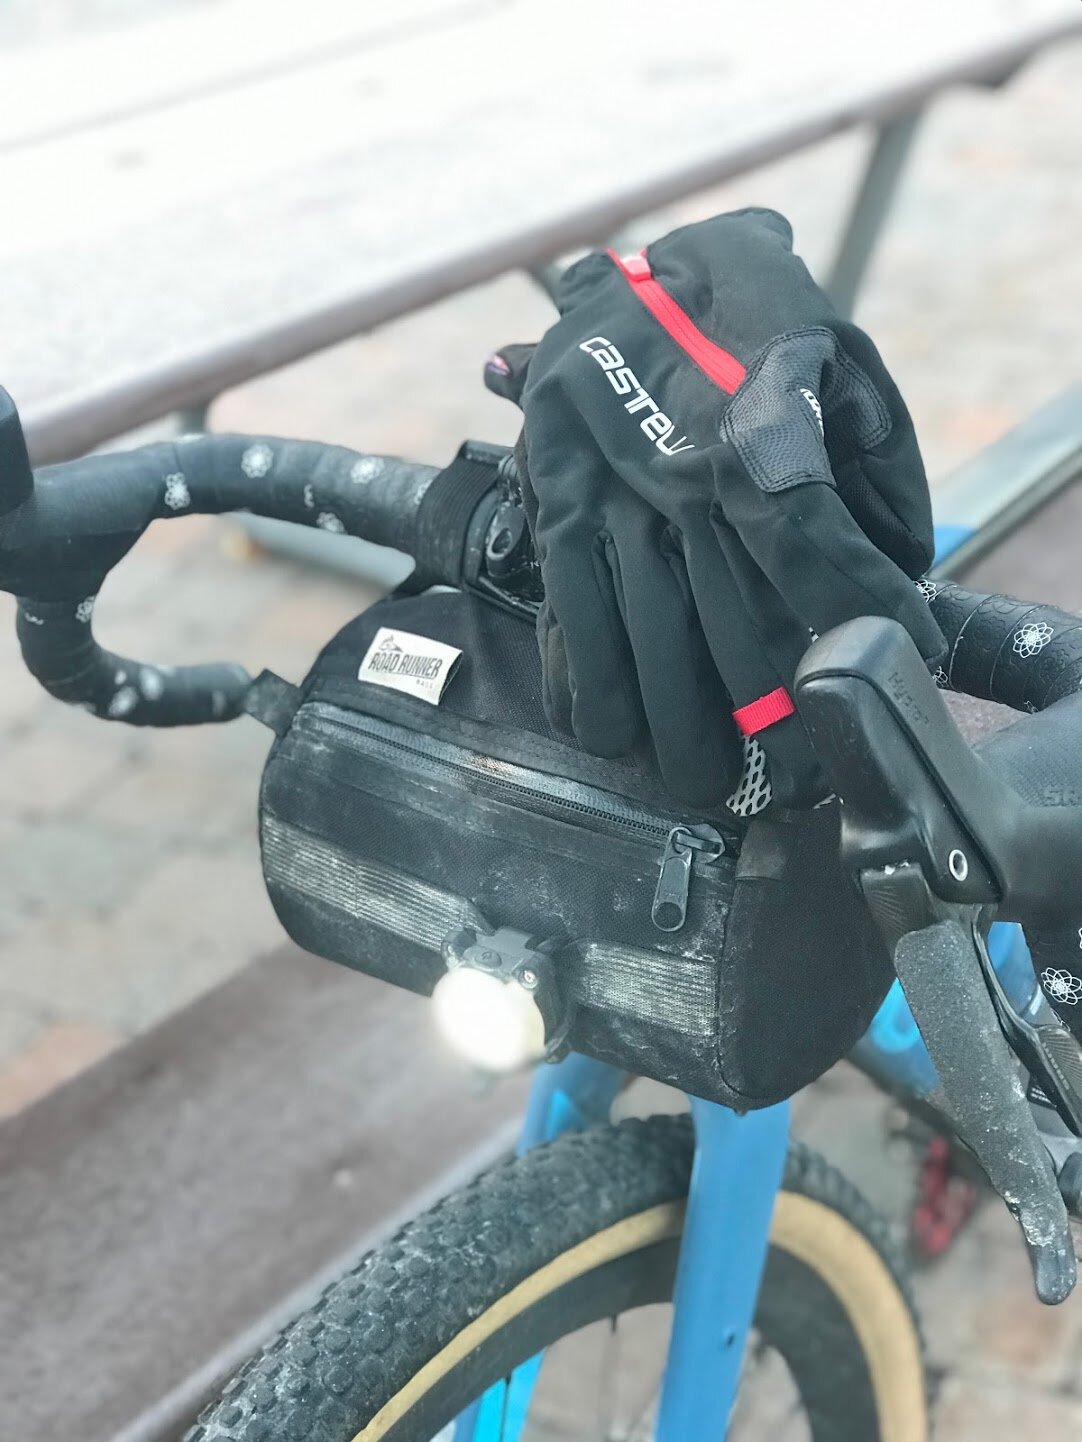
HOT TIP: For many reasons, taking extra gloves along is a great idea. This often means an extra set of liner gloves, perhaps a shell. What you want to avoid is getting these spares wet from carrying them against your body. So, two good options: 1) carry extra gloves in a zip-loc bag in a jersey or jacket pocket; 2) carry your spares in a handlebar bag, along with a hot drink! Swapping to dry gloves can make a big difference, given the conductivity issue discussed above.
Feet
Feet are often the limiting factor in winter cycling. I won’t bury the lead: if you want to be warm, get proper winter cycling boots. Read on for more detail.
For commuting in the city Bogs work well for short rides and/or if you don’t care about pedaling efficiency. Before the fat bike craze kicked in, there were few options for winter riding shoes/boots. When I got mine, Shimano’s Gore-Tex model was what I could afford, and more importantly, actually get my hands on. Similar to my newer Lake MX145s, these are appropriate for spring and fall in climates like Ottawa, but they are not a true ‘winter’ shoe/boot. I’ve experimented with numerous measures to make them work reasonably well for rides of 3-9 hours. If you’re in a position where you need to adapt footwear that isn’t winter-appropriate, here’s what I’ve learned:
Adding aluminum-foil to the underside of your footbeds might seem like a good idea, but it only ends up getting shredded, somehow.
SealSkinz waterproof, medium insulated socks work well once in a while below freezing, but often trap too much moisture to be warm (see heat-sink issue above). They will generally work well for 2-3 hours.
Various winter-weight socks will work well IF they actually fit into the shoes without creating a tight fit.
If shoes don’t allow for use of a winter-weight sock, a very thin merino or silk liner sock, with a medium-weight wool sock over it might be your best option.
Sealing the cleat holes on the outside of shoes with silicone helps a wee bit. The Achilles heel of every adapted shoe system is the sole, where the pedal - a heat sink - pulls heat from the foot. Ironically, the plastic cleats of road shoes is warmer than the metal cleats of MTB shoes….
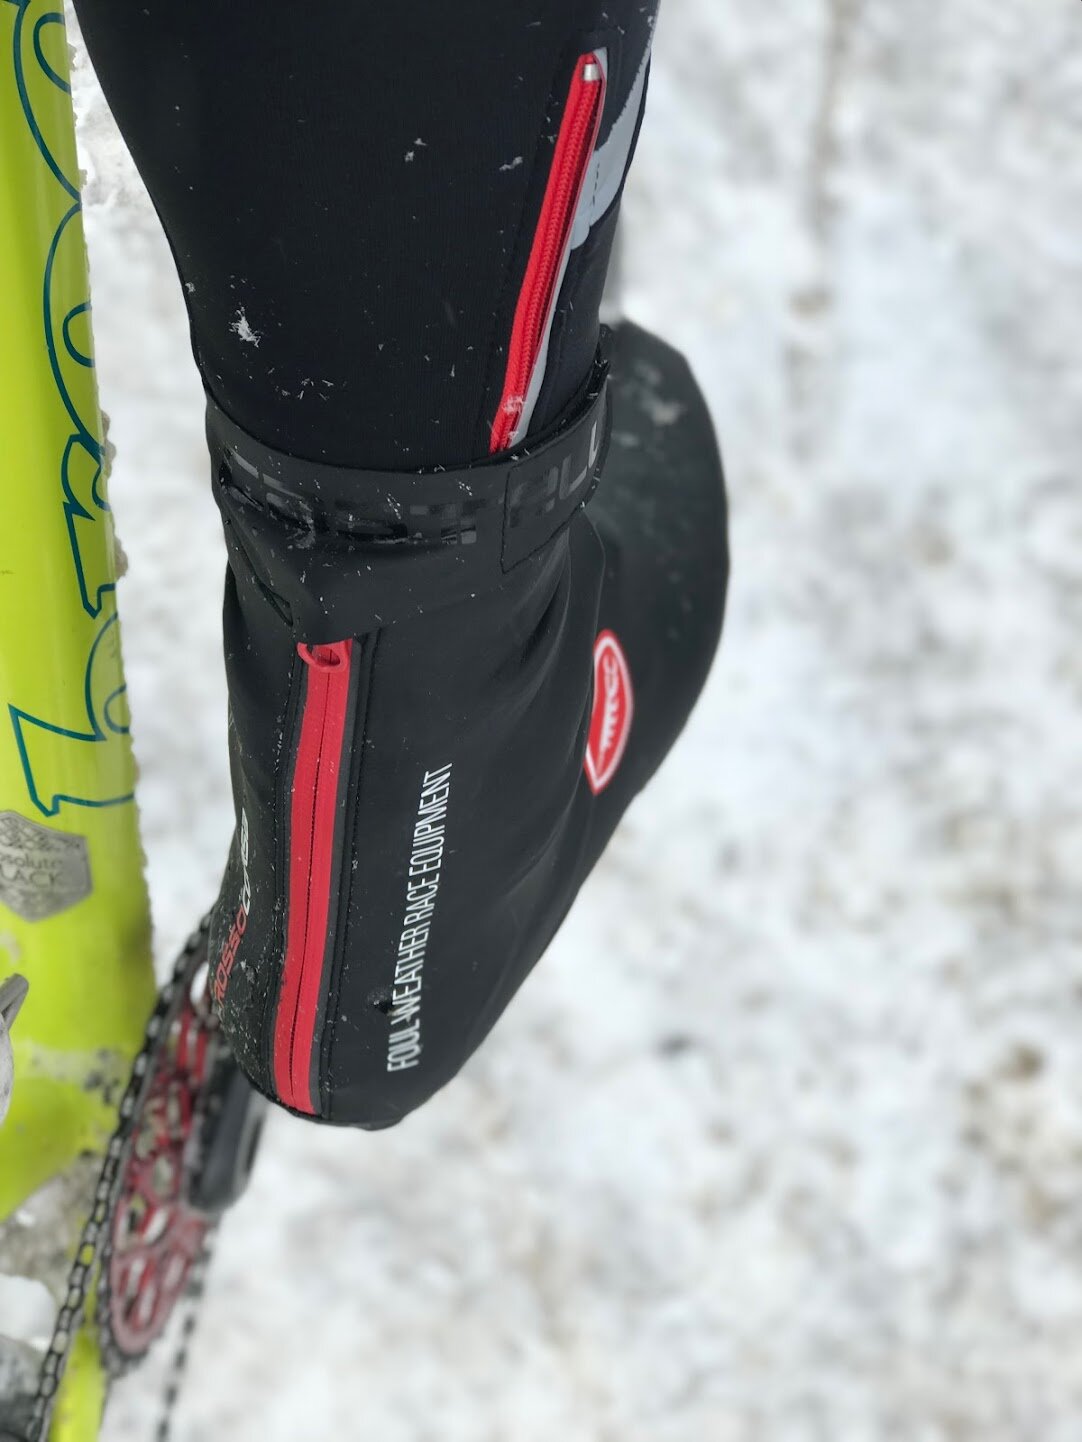
Up to two pairs of booties over top of shoes can work well, provided you’re not compressing the shoes to the point of restricting circulation. Castelli’s new Estremo model could set the new standard for shoe-cover warmth, but it’s not stretchy, so will be hard to fit over some footwear (try sizing-up).
The persistent issue with shoes like the Shimanos is that heat bleeds out from the bottom of the shoe (entropy). To combat this, you might wish to experiment with Lake, Thinsulate or 45North Aerogel insoles. Another tip I've seen is to use neoprene toe covers inside the shoe. Some riders have been using electric footbeds and socks over the last few years too, which seem to be working well. Expensive, certainly, but some of the guys I know haven’t found any other way to keep their feet warm. In 2020-21 I’ve experimented with Syksol’s Thermosol winter insoles versus their Contourform Expert insoles. The former come stock in Lake’s winter boots, and use aluminum for heat reflectivity. I’ve found these insoles work well for 2-3 hour rides on the colder end of my temperature range, which is about where moisture within my boots tends to hit a ‘critical’ point. I think the aluminum flips from helping retain heat to conducting it, thanks to the moisture. I tested my theory using their Contourform Expert insoles, which use a few densities of foam for support and comfort. All other factors equal, these worked better after 3 hours. My moisture level was similar, but less heat was lost. I was warmer. This suggests that there are ‘inflection points’ when riding, where an effective setup can become ineffective. It’s important to pay attention and learn when these shifts occur, and how to manage them. For example, if the 3-hour point is where your hands and feet tend to start to chill, don’t stop for a coffee around that point of the ride. Or, if you do, develop some measures to amp up their circulation before or as you get rolling again. For example, whip your hands, run alongside your bike.
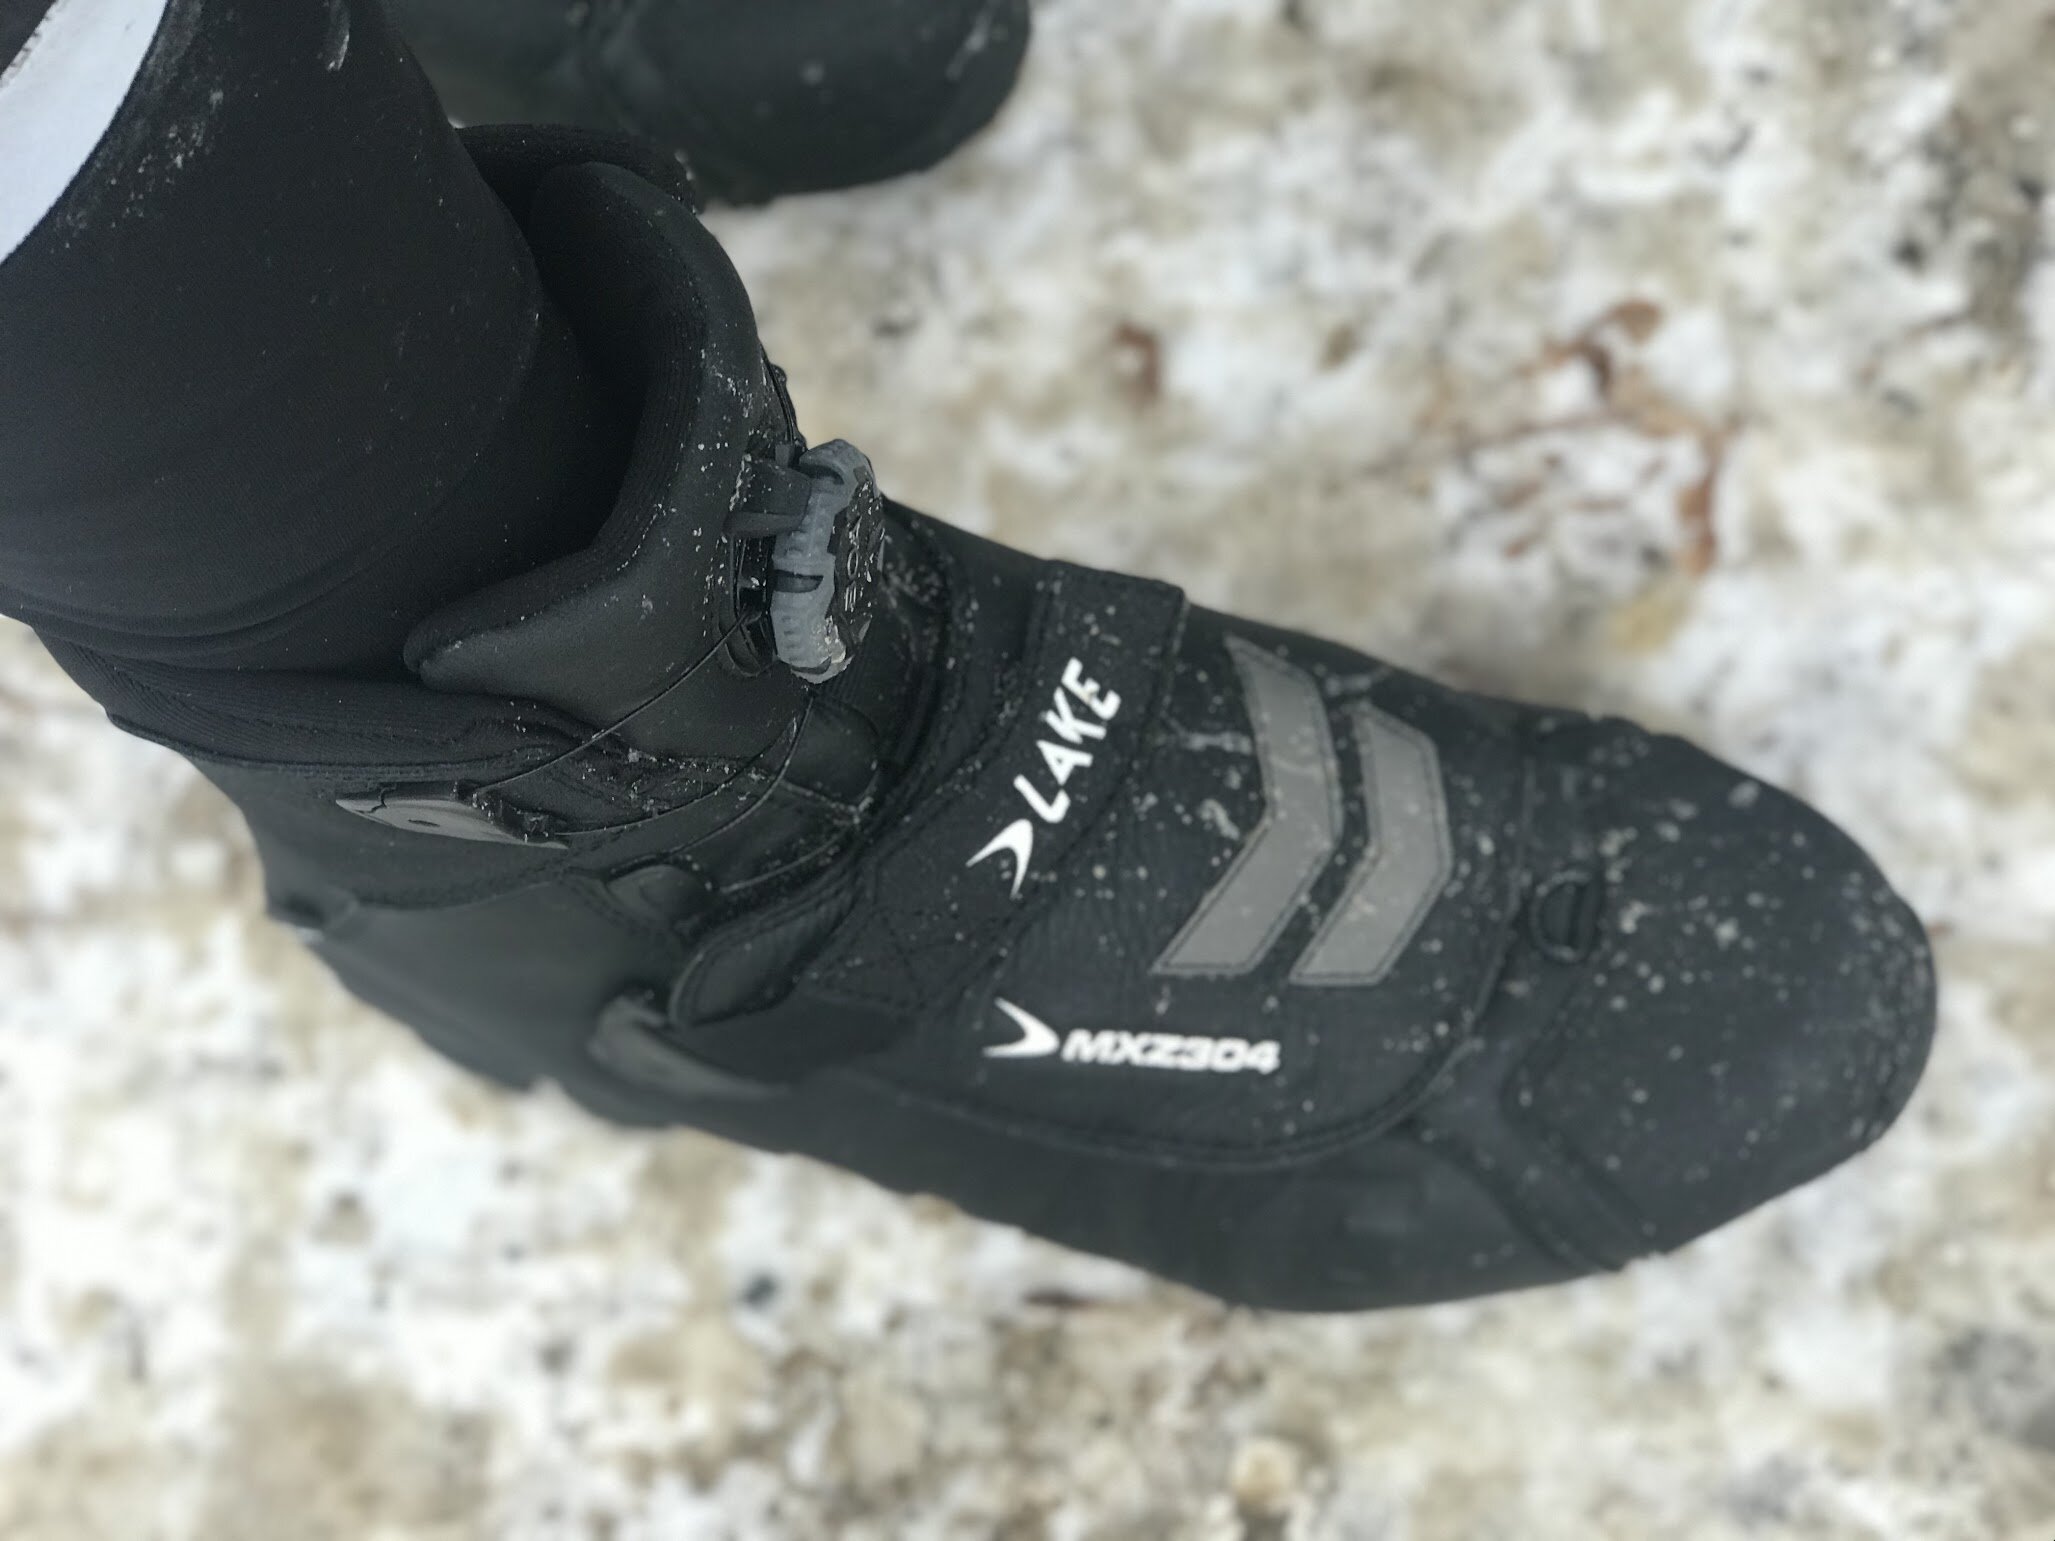
Real winter cycling boots
I’m fortunate to be finally riding in a proper pair of winter boots as of the start of winter 2019-20: Lake’s new MXZ304. These boots are built for ‘real winter,’ and they’ll take most of us down to -15C without issue. You can read about them in my first impressions piece.
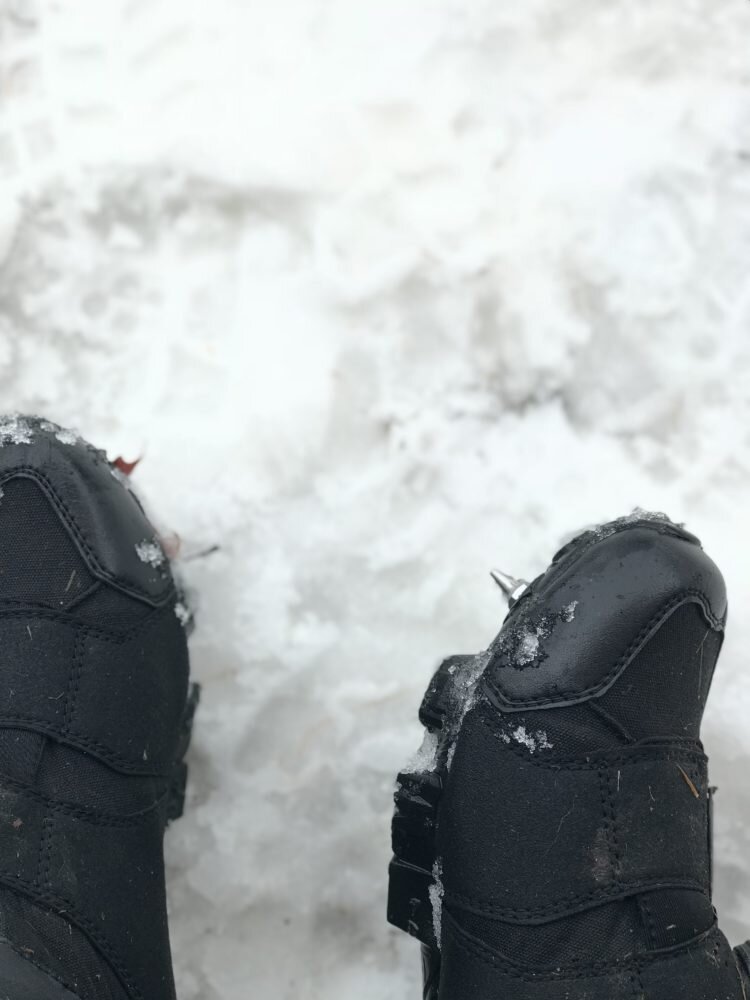
Whatever you do, make sure your winter set-up allows for air space around your feet. As soon as you compress your foot tightly, you’re fighting a losing battle. This means some riders could be warmer in big summer shoes with heavy ski socks and wiggle room, covered in a warm shoe-cover, than others in full-on winter boots cranked down tight like we’d do for summer riding. A winter solution doesn’t need to feel exactly like a summer one, except warmer. When companies like Lake, who’ve been making winter footwear for cycling for more than 20 years advise us to size up, listen!
I hope some of this helps you enjoy riding outside in the cold!
If I’ve left anything out, please let me know!
If you have specific questions, either ask them in the comments section below, or hit me up through the Q&A page.
Again, if you’d like to see how all this works out when put into practice, check out my winter / foul-weather kit performance tracker.