
How to clean your bike in the winter
After a club-mate skipped cleaning his bike following a weekend snirt ride, and subsequently found it waiting for him with a rusted chain and cassette the following weekend, he emailed about how I avoid this problem. I wrapped my response into a quick post back in 2016, and have updated it here. I hope you find it helpful if you get out onto the wet roads covered in salt water.
Proper vs Best-can-do, and Prevention
There’s what I’d consider the ‘proper’ way to clean a bike after a winter ride, then there’s the ‘best-can-do’ way. The former will protect your bike from salt damage to the greatest extend possible, limiting damage to the whatever drivetrain grinding might occur during the ride itself. The ‘best-can-do’ method is likely to allow salt to reside on the bike in hard to access places, and do harm over time.
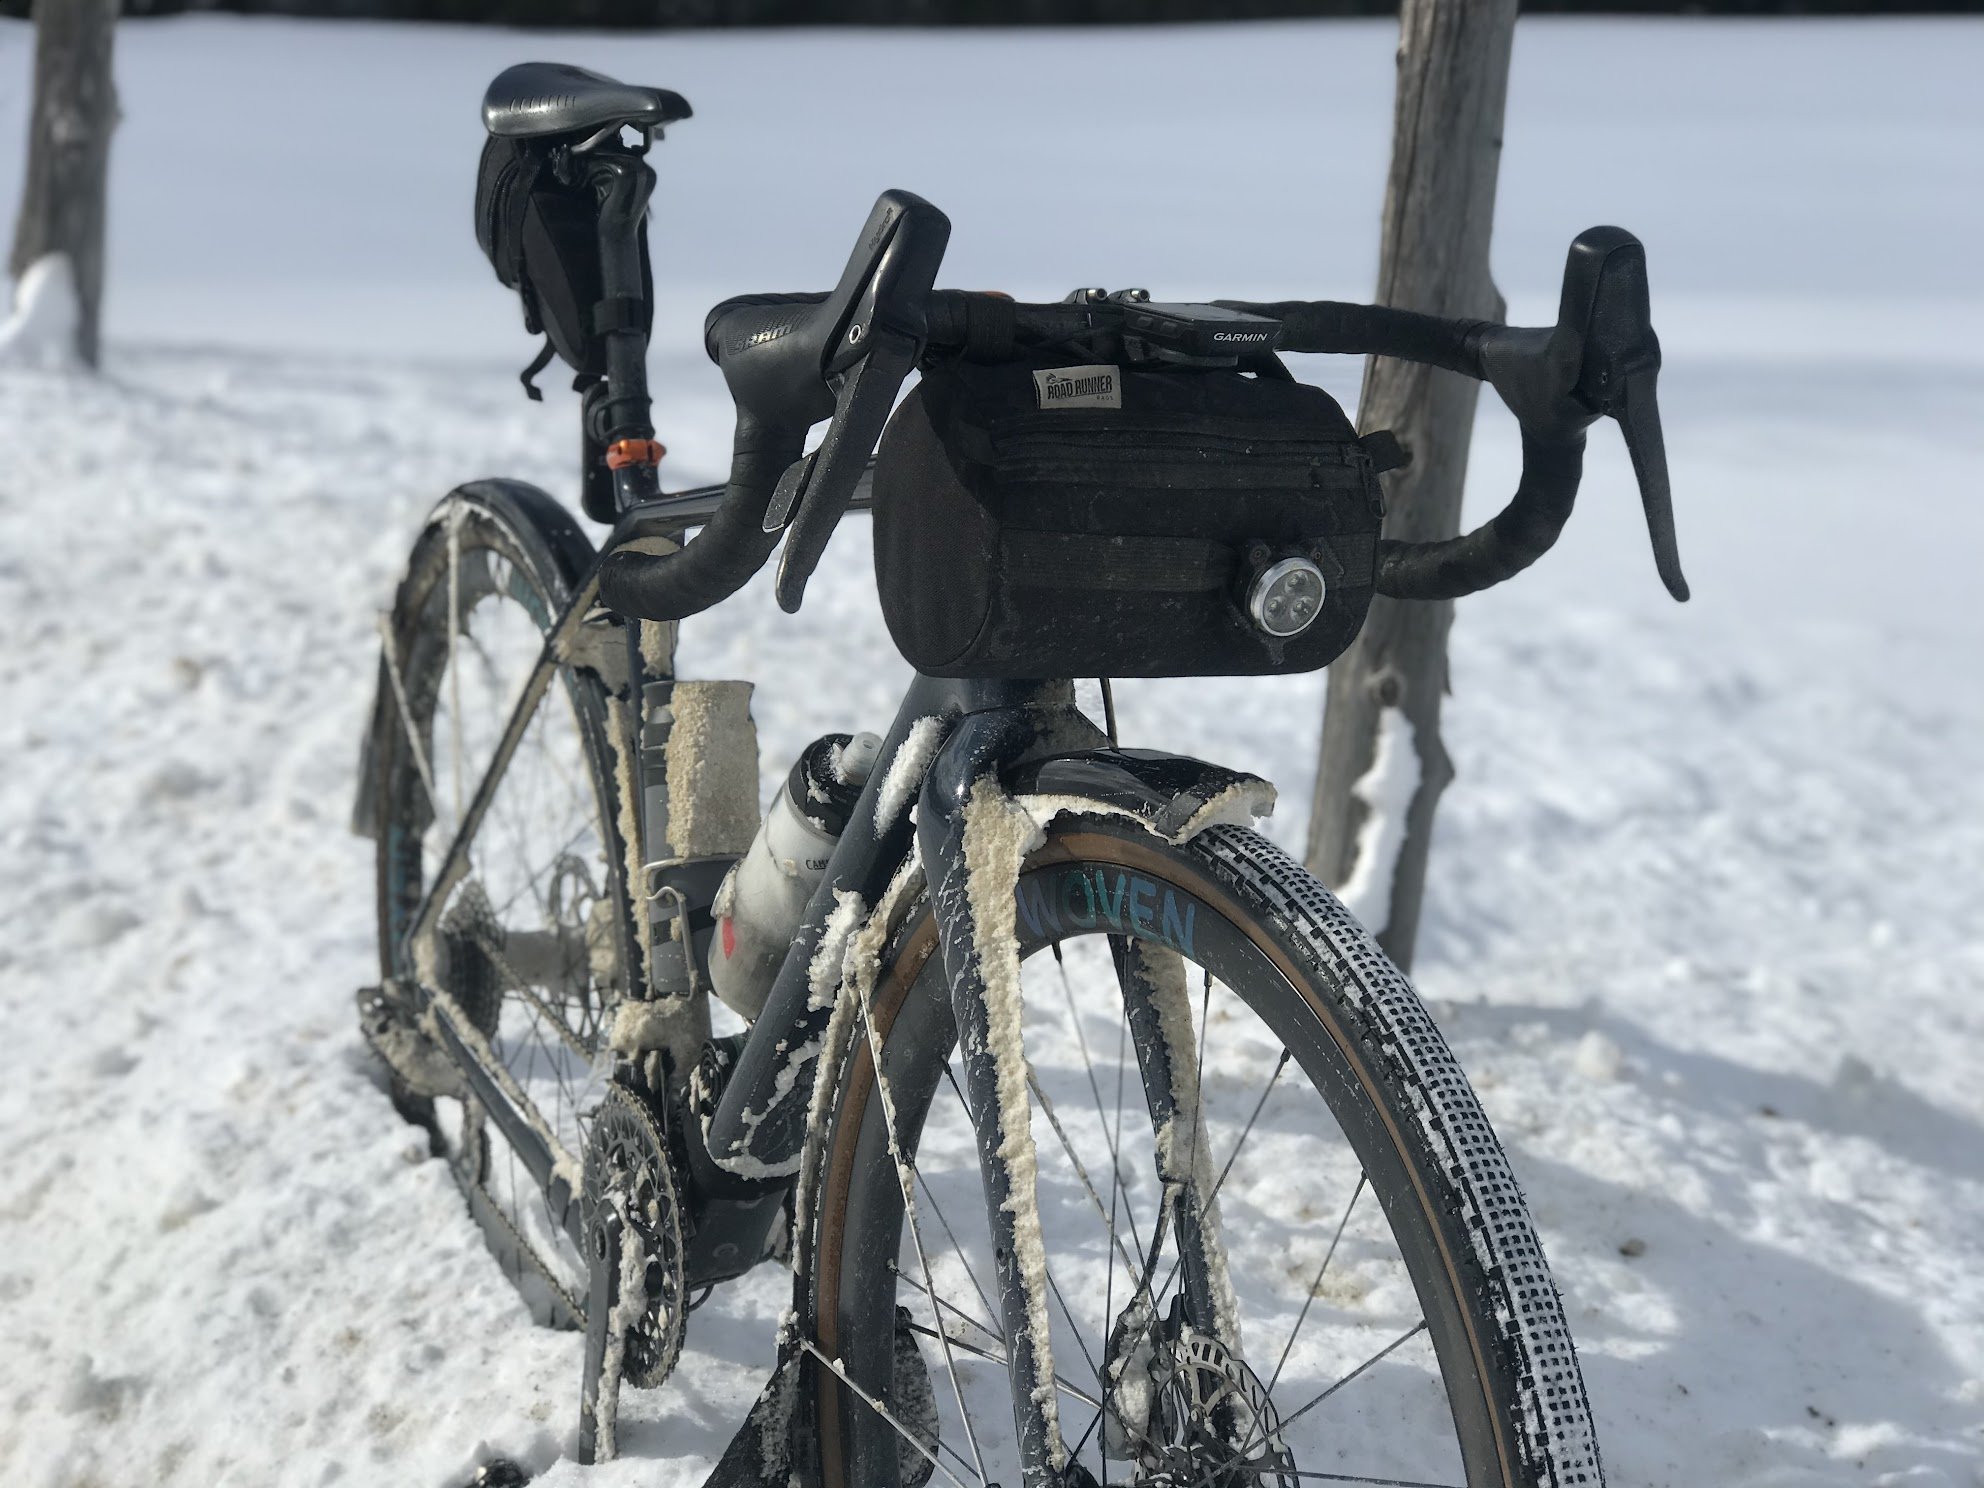
Regardless of cleaning method available to you, an ounce of prevention is worth a pound of cure; fenders on your bike, properly set up, will go a long way toward reducing the amount of contamination on your bike. It’s also wise, if you’ll ride regularly, to save old drivetrain parts for winter use, and save the good stuff for the rest of the year. Even more fundamentally, bike parts need to be assembled with grease and anti-seize compounds in the first place. These help prevent corrosion that occurs when dissimilar metals are assembled together, especially when salt - an electrolyte - is present. If your bike was factory assembled, it might have grease and/or anti-seize on bolt threads, bottom bracket assemblies, stem interfaces, etc., or very few of these. Your spoke threads might have been treated with assembly compound, linseed oil, or something else; or built dry. Your bike’s original build will play a role in how resilient it is when exposed to salty water, so if you don’t know what sort of state it’s in, you might wish to dig in and perhaps engage a pro mechanic to make sure you’re good to go. Note that things like quick-release skewers and thru-axles, which might be initially installed with little grease, to avoid transferring to cars and clothes, should be pulled out, cleaned, and greased before each winter especially if they are likely to remain installed through the season.
Preventing water intrusion into the frame and even wheels is also important for winter riding. Especially for steel frames, you’ll want to ensure you start with some frame protector inside (see Frame Saver), then close up holes in the frame to prevent water ingress. I like to use silicone for this, but you can use any number of things, including Blue-Tac, one of my favourite hacks. Particularly if you’re not riding with fenders, sealing the slot at the back of your seat-tube (if your bike is typical) is a good idea. Silicone works well here, and doesn’t interfere with seat adjustment. I did this with my cyclocross bikes too. You can use electrical tape around your valves to prevent water ingress there too, which is a good practice year-round anyhow.
Proper cleaning
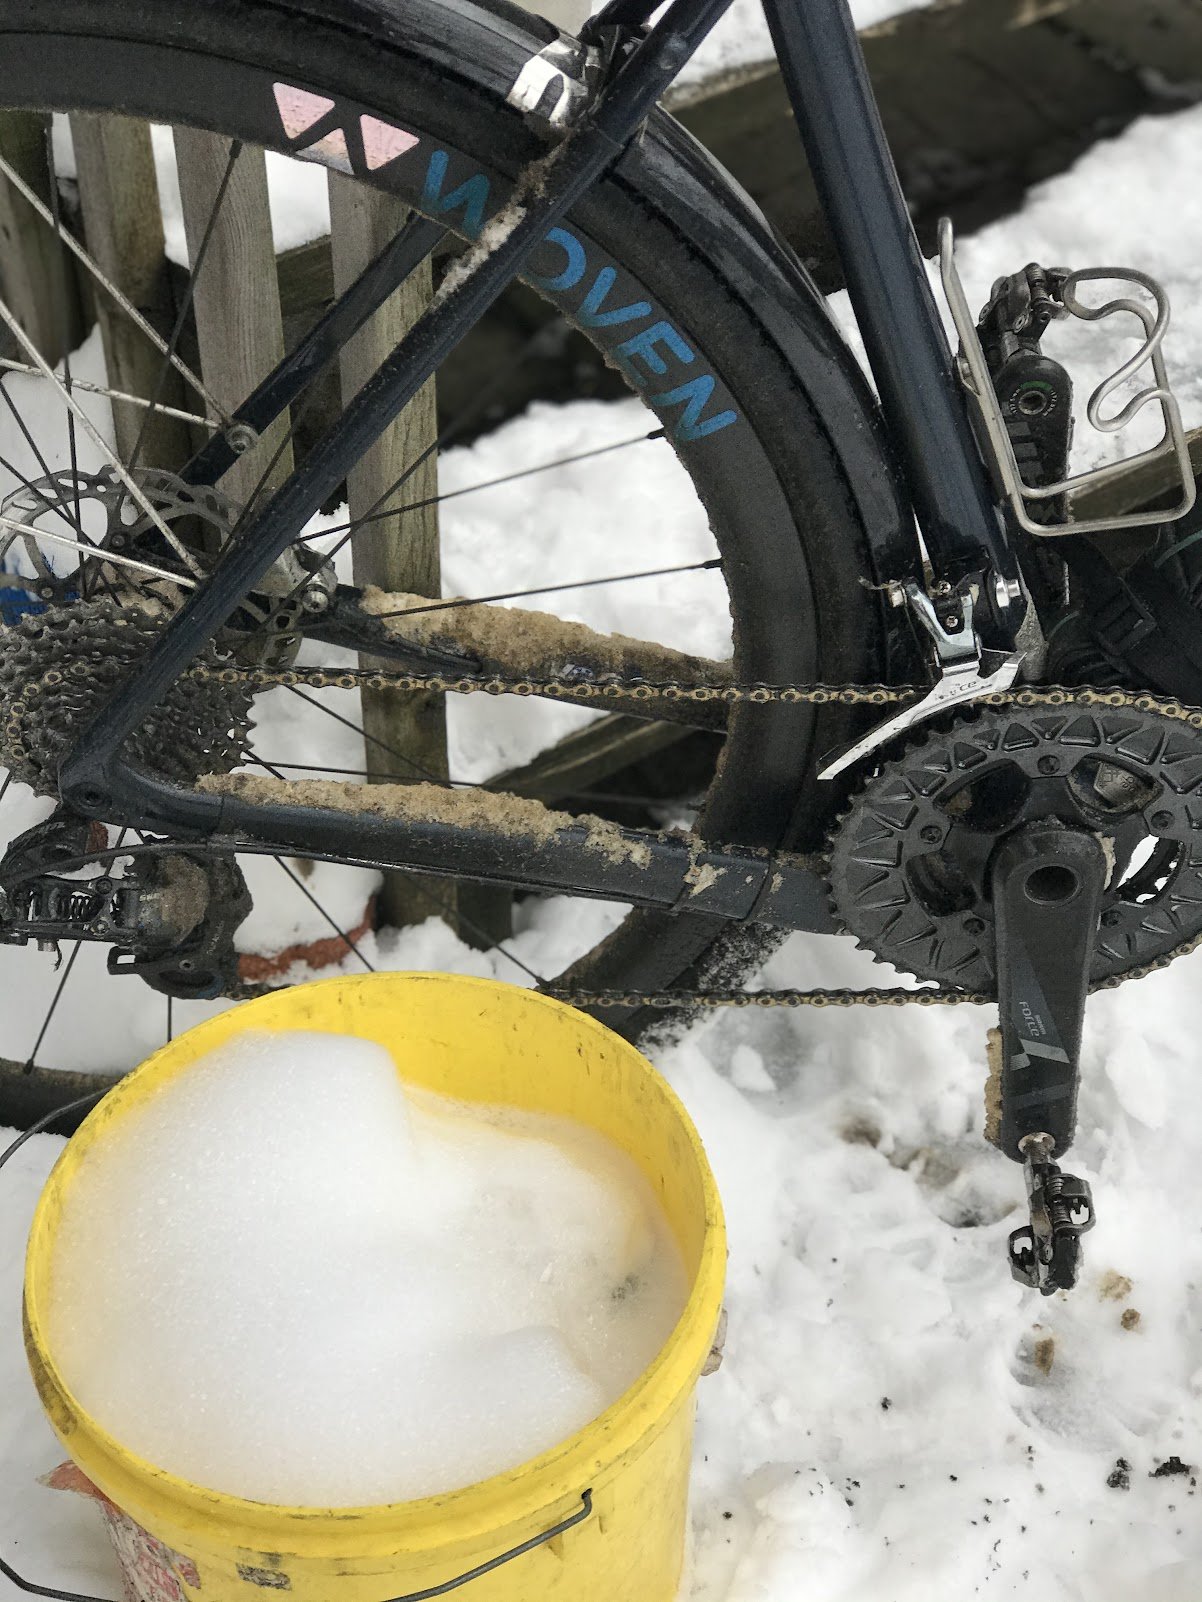
If you can clean your bike outside, or anywhere water can run off without issue, you’re golden. Forget about a hose; you don’t need it. What you need is a bucket, hot water, dish soap, and a decent wash cloth; microfiber seems to work best.
Typically, I’ll grab the bucket as soon as I arrive home, fill it with hot soapy water, then head back out to the bike and hit it. Often I’ll also fill a couple bottles with hot water for spraying and rinsing. This approach is probably a lot faster than you’d expect; it tends to take me less than 10 minutes, and the soapy water is all I ever need for even the toughest areas, like the drivetrain. This is where prevention comes in again.
If you run lube that runs clean, the job is merely a matter of removing contamination from the road, not horrific greasy grime. If your drivetrain isn’t greasy, you don’t have to worry much about contaminating brakes as you move around the bike with your cloth. I clean from top-down, and leave the drivetrain for last. Brushes work well too, but aren’t required for winter; they are more for tacky mud.
After I’ve gone over the bike, making sure to remove slush from inside the fenders, I dump the remainder of my water over my brake calipers and drivetrain. Then I allow the bike to drip-dry outside before bringing it in and placing it against one of my radiators to finish drying. When it’s freezing outside more of the drying will occur inside. Because my chain dries quickly this way, it doesn’t tend to have opportunity to rust, even though it’s devoid of lube. I can let the bike sit for days before applying chain lube (preferably the day before my next ride, to let it really absorb), which is a bare minimum. As per the steps below, I’ll also apply Tri-Flow, but don’t need to do so after every washing. The bike also tends to come out looking fresh with dish soap, so I don’t need anything like Bike Lust.

Best-can-do Cleaning
If you can’t clean your bike outside or in the shower, you're going to have to at least spray your drivetrain and moving parts with WD40 after a snirt or wet road ride. This will tend to inhibit rusting until you can get to it and actually clean it. Alternatively, if possible, leaving the bike in a safe cold place will inhibit any salt damage and buy you time.
If your bike has to sit in foyer, garage, or some place similar, while slush melts off it, then you’ll clean it, and you can’t use water in the process, here’s what you can do:
Spray the bike with Salt-Away, ideally, or a substitute. Salt-Away dissolves salt, and works rather well, but you can also use vinegar and water, dishsoap and water, or Muc-Off's pink 'nano-tech' bike cleaner, which is pretty mild. You don't need to use degreaser for this.
Rinse with hot water in a misting spray bottle, with a clean-enough rag following closely/catching run-off.
Blast everything with the air compressor, if you have one. This is a really useful tool to have at home for this very use, as it allows you to blast grime and water out of little nooks and crannies. Take time with the chain to blast out all the grit. Make sure you hit every single pivot on the bike too, especially the derailleur pivots. Don't blast grit into your cable housings. Wear eye protection, and use a rag to shield debris from flying all over the room. The more you blast out bad stuff, the more you also blast out good stuff - lube. This approach requires more frequent re-lubing to assemblies and pivots.
Let the bike dry a bit more if you want, or put it on the bike stand now (assuming you have one...you need something to support the bike).
Use Tri-Flow or similar thin multipurpose lube on all the bike's pivots, except the chain. ALL the pivots: derailleurs, mechanical brakes, pedal springs. Also good to put a drop at every spoke thread and eyelet at least every two or three rides. This takes me about 2 minutes including wheels. Never forget your pulley bearings. If you have open cable-housing ends (my bikes all use full-length cable housing to reduce contamination and maintenance), you will likely need to clean and lube them. Here's a video showing the easy technique I use.
Dry the chain more with a rag, make sure there is no grit on chainrings and cassette, pulleys.
Apply your best lube (see more on lube below).
You can finish with a wipe-down with Pedros Bike Lust or similar if needed.
After the bike has been sitting a while, it's generally good to turn the pedals and make sure nothing has gotten stuck, like a pulley wheel. It's just a little peace of mind thing. This is easy when the bike in in the house.
More on chain lube - Updated March 2024
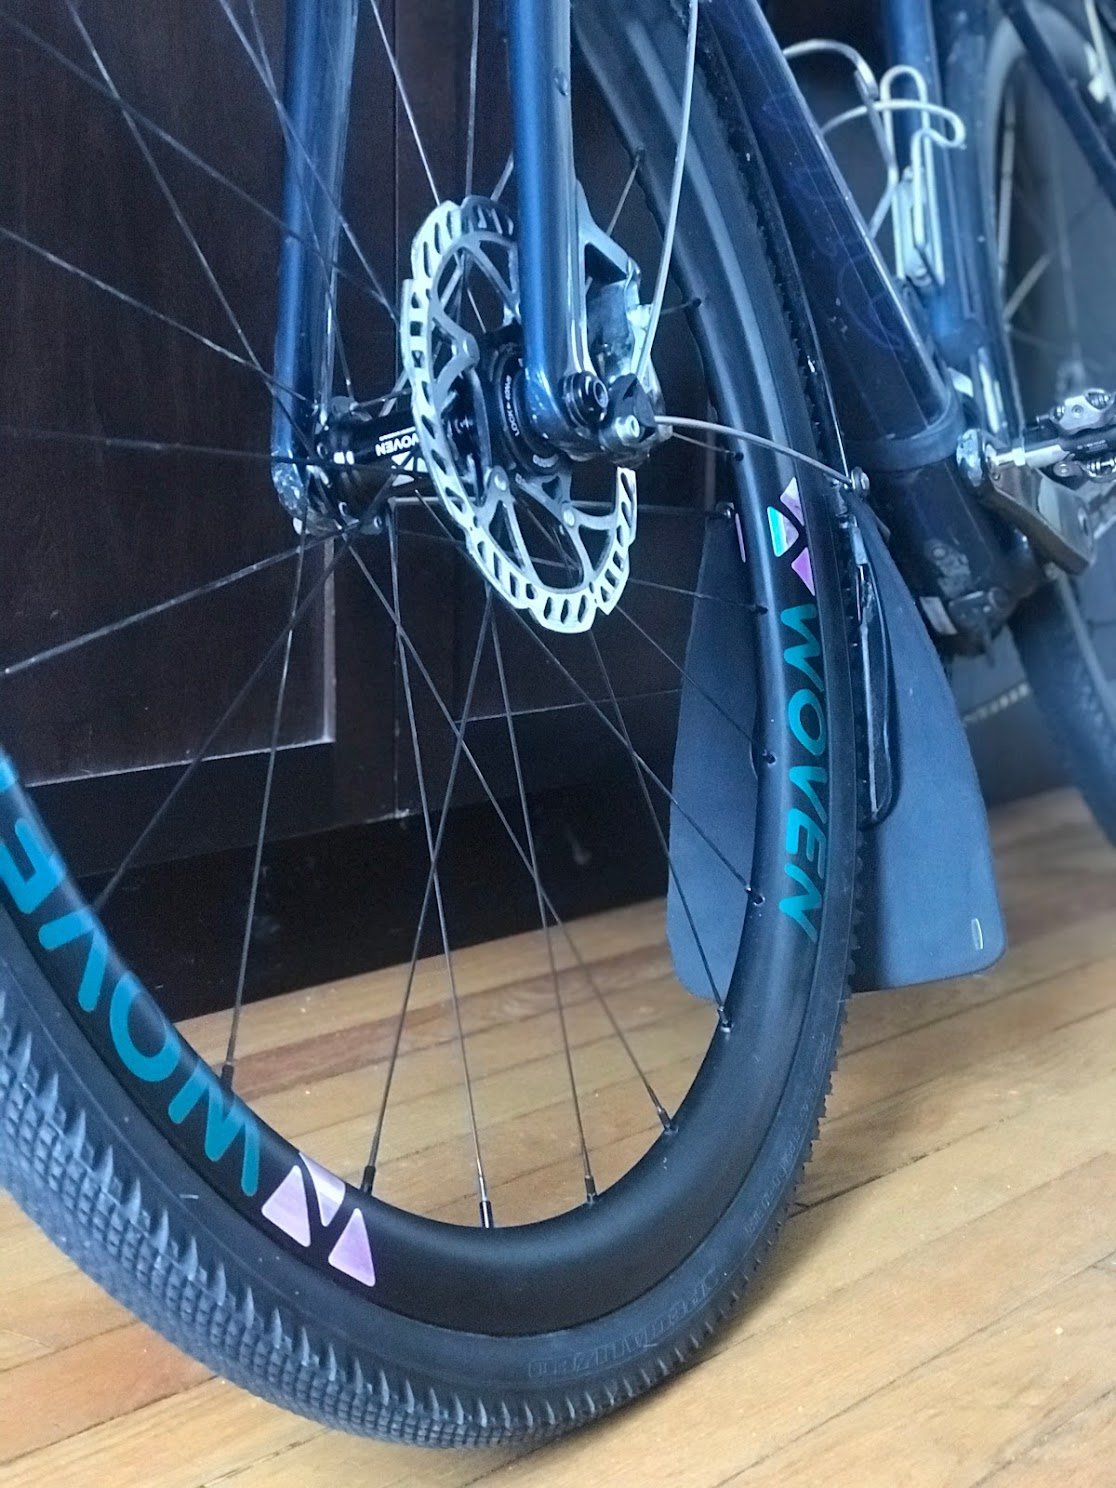
As stated above, an ounce of prevention…. The less contamination your chain ‘wants’ to pick up, the less wear you’ll take on over a ride, and the easier your cleaning job will be. The fender above, with my ‘custom’ fender flap, will prevent a lot of spray from getting to the chain. But the chain isn’t encapsulated, so it’s going to take on a decent amount of contamination. The primary defense against this threat is lube occupying as much space as possible within your chain’s rollers. This can be accomplished by loading it with lube in the form of liquid or solid wax. When done well, wax will occupy more space within the chain than liquid can, which is especially important and challenging as the chain wears and internal space increases. Since it makes sense to use old drivetrains for winter, it’ll always be harder to get worn chains to hold lube.
Paraffin does indeed work well when applied properly. This will take most folks some trial and error to dial in. The same applies to high-end wax products like Absolute Black’s Graphenwax and Silca’s wax. I’ve had excellent durability with AB’s wax - more than 1,000km on a summer application - but I also missed the mark once and only got 200km out of an application. Whatever you use, if wax stays inside the chain over a ride, grit has nowhere to get into and do damage.
I’ve used lots of different wet lubes over the years, and Nix Frixshun (NFS) used to be great. For thick lubes like NFS, you normally only need 12 drops on the whole chain. Put the chain on the 12t cog, apply 12 drops to random rollers, pedal 12 revolutions, wipe. After a nasty day, do a bit more, and let it sit longer before wiping - like wipe before the next ride. Over-lubing with heavy lubes generates lots of grime. With thin lubes, you need more, but they generally suck, especially for winter. Third-party testing indicates none of the wet lubes on the market are great for managing chain wear compared to immersion and drip wax lubes. This is because they depend on ‘tackiness’ to adhere to internal chain surfaces, which also enables grit to adhere, creating ‘grinding paste’. In contrast, wax lubes - immersion and drip - deposit solid wax within the chain, which is not tacky, and less prone to being rinsed out. This translates to wax in the chain for longer than liquids can contend with, which equates to superior fiction and wear reductions.
If you’re able to avoid salty roads and only ride on snirt when it’s frozen, you can get away with a broad range of lubes. It’s always going to be rides where we alternate between wet and dry conditions that challenge our chain lube the most. Lots of road spray will do a number on your wet lube, and can ultimately blast all of it out, leaving the chain dry, which is bad because it increases the rate of chain wear and opens space for contaminants to function as grinding paste within the chain, which is even worse. If you’re getting into dry-chain situations, it’s wise to bring a little bottle of lube to apply during the ride. With immersion waxes, the nice thing is that you can bring a little bottle of a compatible wax drip lube, and apply that onto the chain without interfering with the wax. The problem with wet lubes is that you’ll wind up with a very dirty chain, so when you add more of that lube mid-ride, you’re just creating more grinding paste. In contrast, when you run an immersion or drip wax lube (properly - you need to let drip lubes set up/solidify before riding), your chain will be clean or much cleaner mid-ride, so adding more drip wax lube will be as good as it gets.
If you will deal with wet/dry conditions for many of your winter rides, and can’t fit in chain waxing, I recommend choosing a drip wax lube, and take a small bottle along with you on your rides. After testing Effetto Mariposa’s Flower Power lube in 2023, I was so happy with their combination of eco-consciousness and product quality that I partnered with them. I’ve been using Flower Power for all my riding for about a year as of this update (March 2024), and it has been fantastic. The lube remains challenged to hold up to wet/dry winter and spring conditions on the road, but in my experience no lube - immersion wax or other - can hold up to this use-case. I have a small bottle of FP I take along for multi-days and the odd mega one-day in bad conditions, and I love it. It’s not expensive either, which is really important from a holistic lifecycle cost perspective. I’m happy to be in a product development test rider role with Effetto Mariposa, so keep an eye out for more developments from the brand, focused on keeping our bikes running better, longer, and with lower ecological impacts!
Always apply your lube the day before a ride, so it winds up inside the chain. Don’t over-lube; lube on the outside of the chain will do you no good. If you’re riding through gritty stuff, try to wait until you’re back to cleaner roads and your chain isn’t holding lots of grit when you re-apply lube. If you can spare it, use your water bottle to rinse the chain as you ride, then hit it it with lube once it’s fairly dry. And if you want to keep your cassettes going for a long time, try to avoid running chains with more than 0.5% wear for long. Wax can help a worn chain function as if it’s less worn than it is, which might be enticing given the cost of chains these days! And finally, inform yourself on the durability of chain options compatible with your drivetrain. For example, XT/Ultegra 12-speed chains are more expensive than SLX/105, but last so much longer, they are actually cheaper to run over time.
Did I miss anything you want to know? Comment below!